Dye Pot Adventures: Garden Edition (pt.1)
The first time I prepared fabric to dye this summer (6 yards from a roll of beautiful, hardy, lightweight recycled cotton from The New Denim Project), the preparation process nearly knocked me out! Going up and down the stairs with buckets and pots full of water from the house and the same buckets back to the house to empty (unless the water was clean) is no joke. It took me back to my days working on a ranch right outside of Jackson Hole, WY - I’d forgotten what using my whole body all day felt like. It’s the best! And exhausting!
Interested in learning how to prepare fabric or fiber for dyeing with natural dyes? Head to the “How Tos” page on the Botanical Colors website - they’ve got so much free information, it’s amazing!
It took a long time to prepare so much fabric (it was ambitious, let’s face it), considering I had to read scouring and mordanting instructions like 20 times to make sure I was using the right ratio of soda ash to fabric for scouring, or the right amount of Aluminum Acetate for mordanting, or the right amount of Calcium Carbonate to add the finishing mordant touches. I was nervous about the temperature of the water, I stuffed too many pieces of fabric into each scour and mordant pot and on and on. I’m an amateur, and it was all real clumsy. That being said, I did it! It took me till like 10 pm but I did it.
Then, a couple of days later, came the fun stuff.
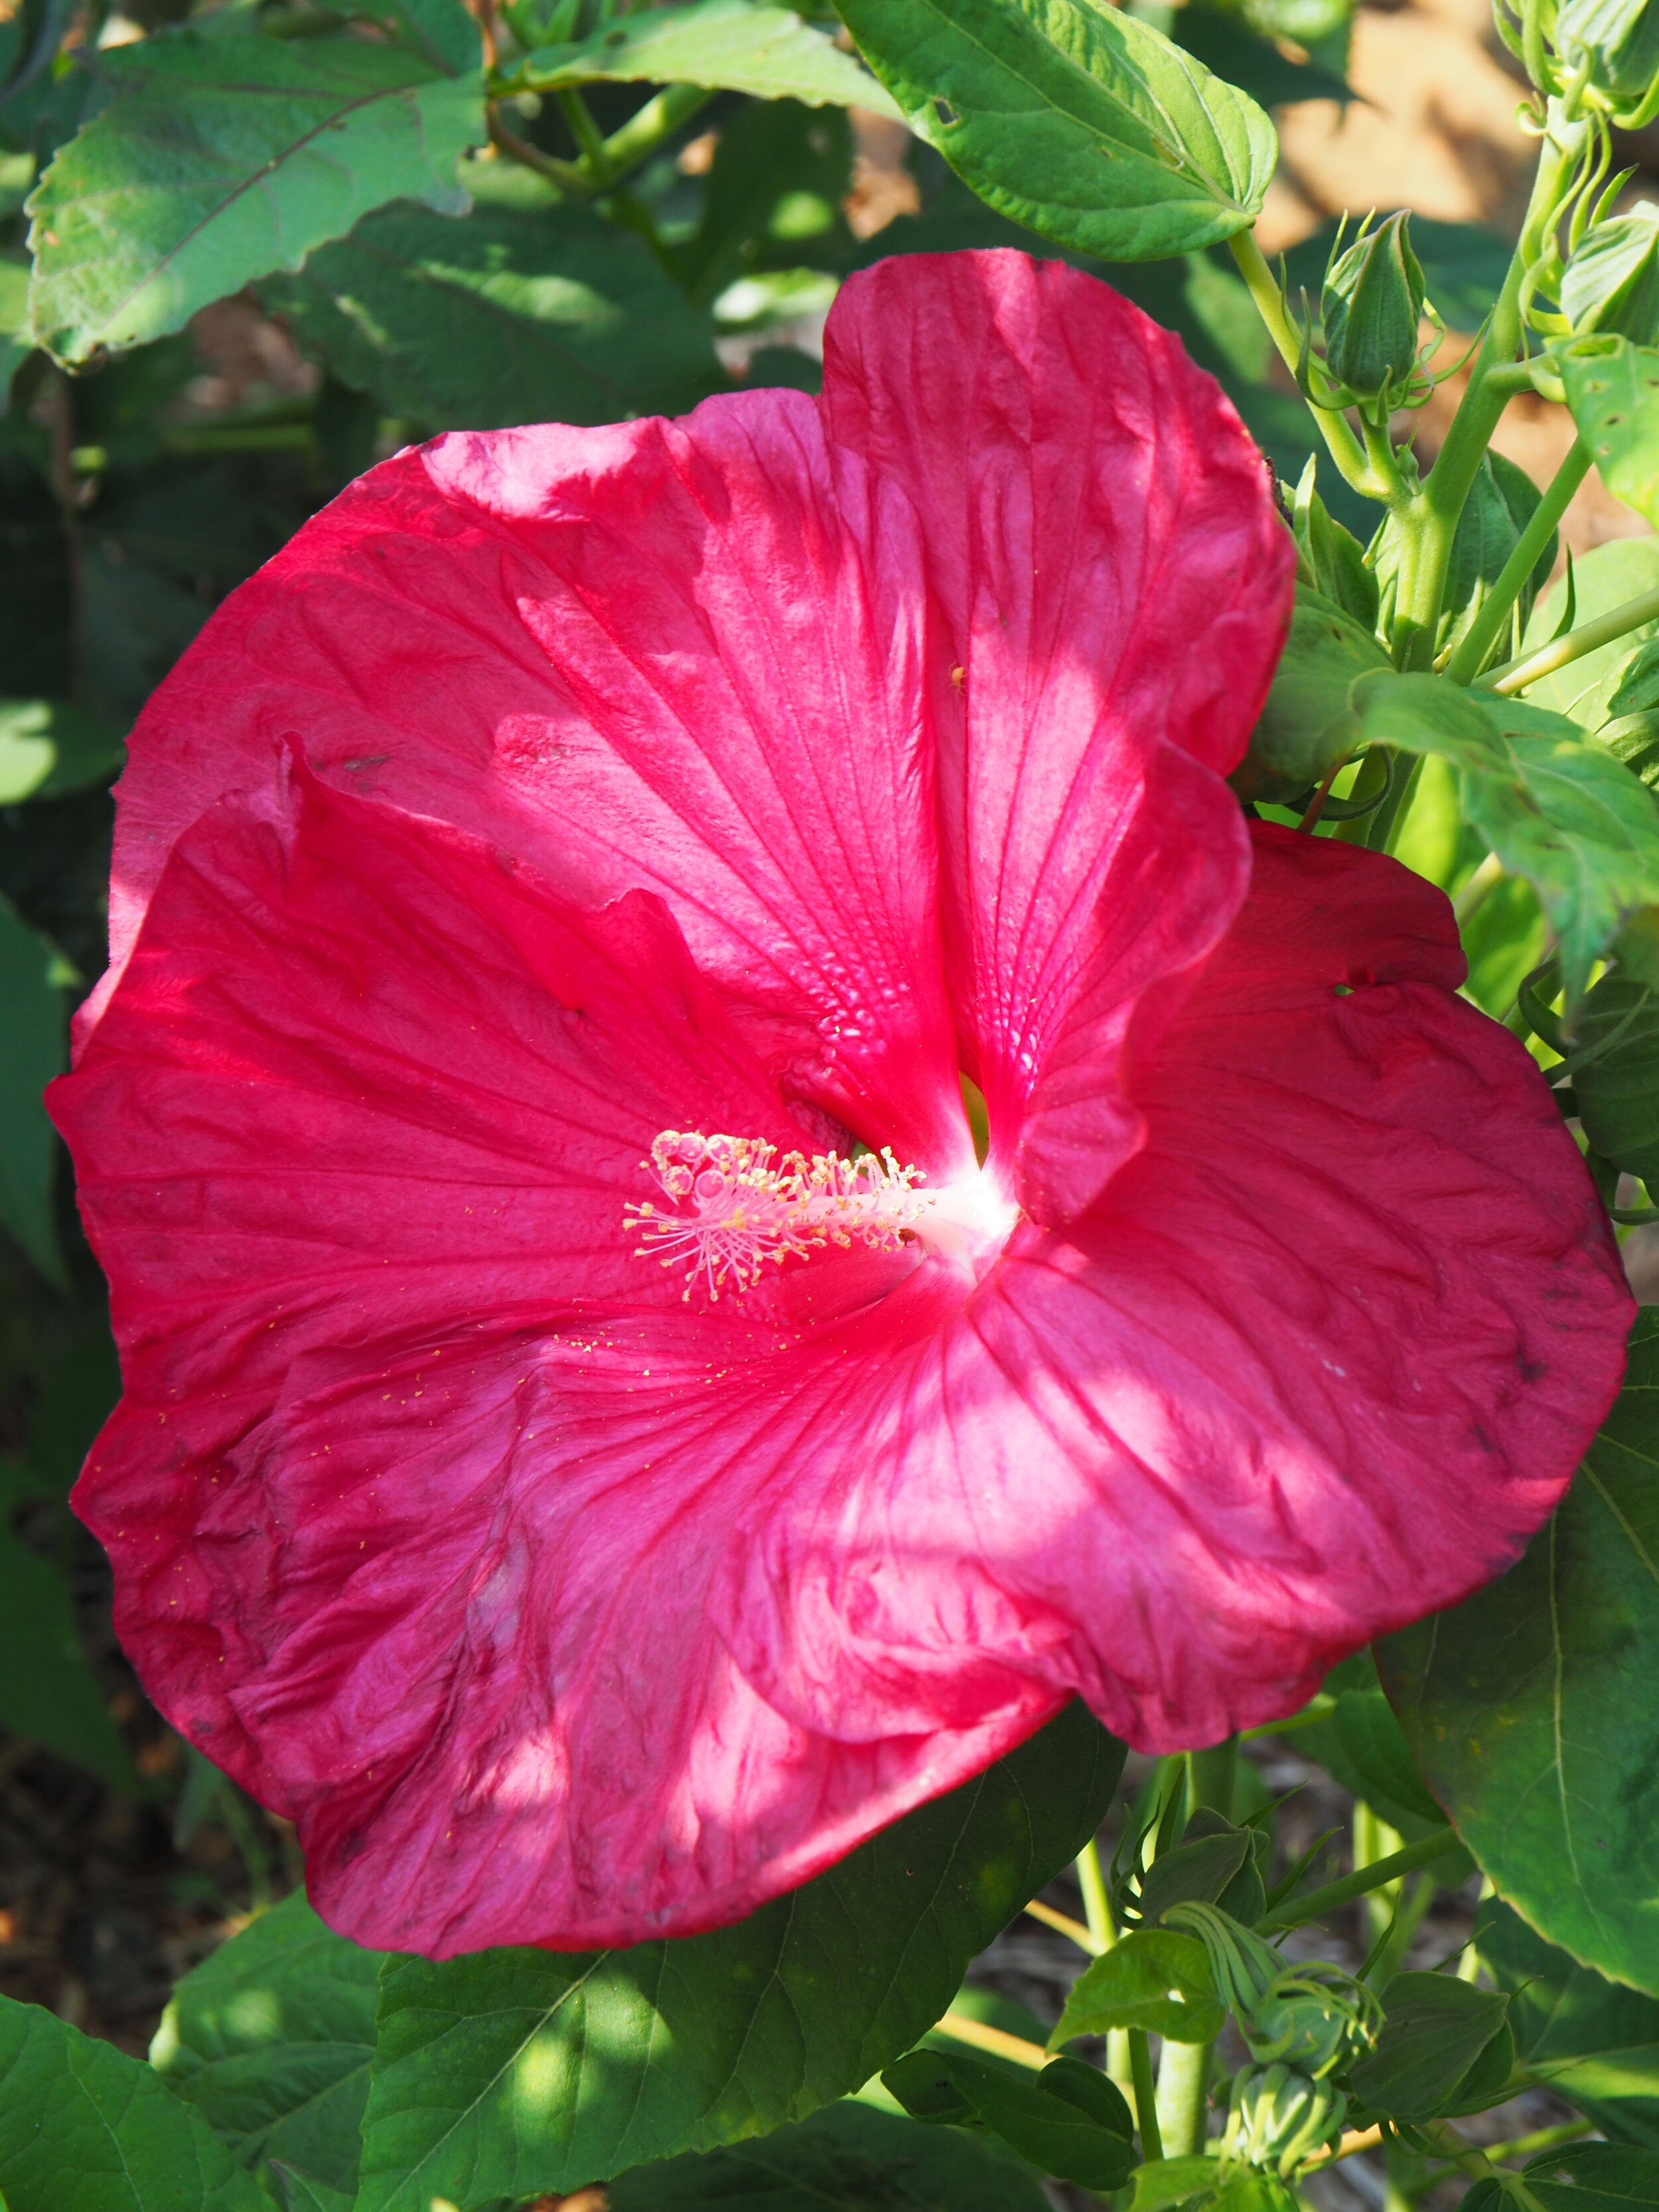
Hardy Hibiscus:
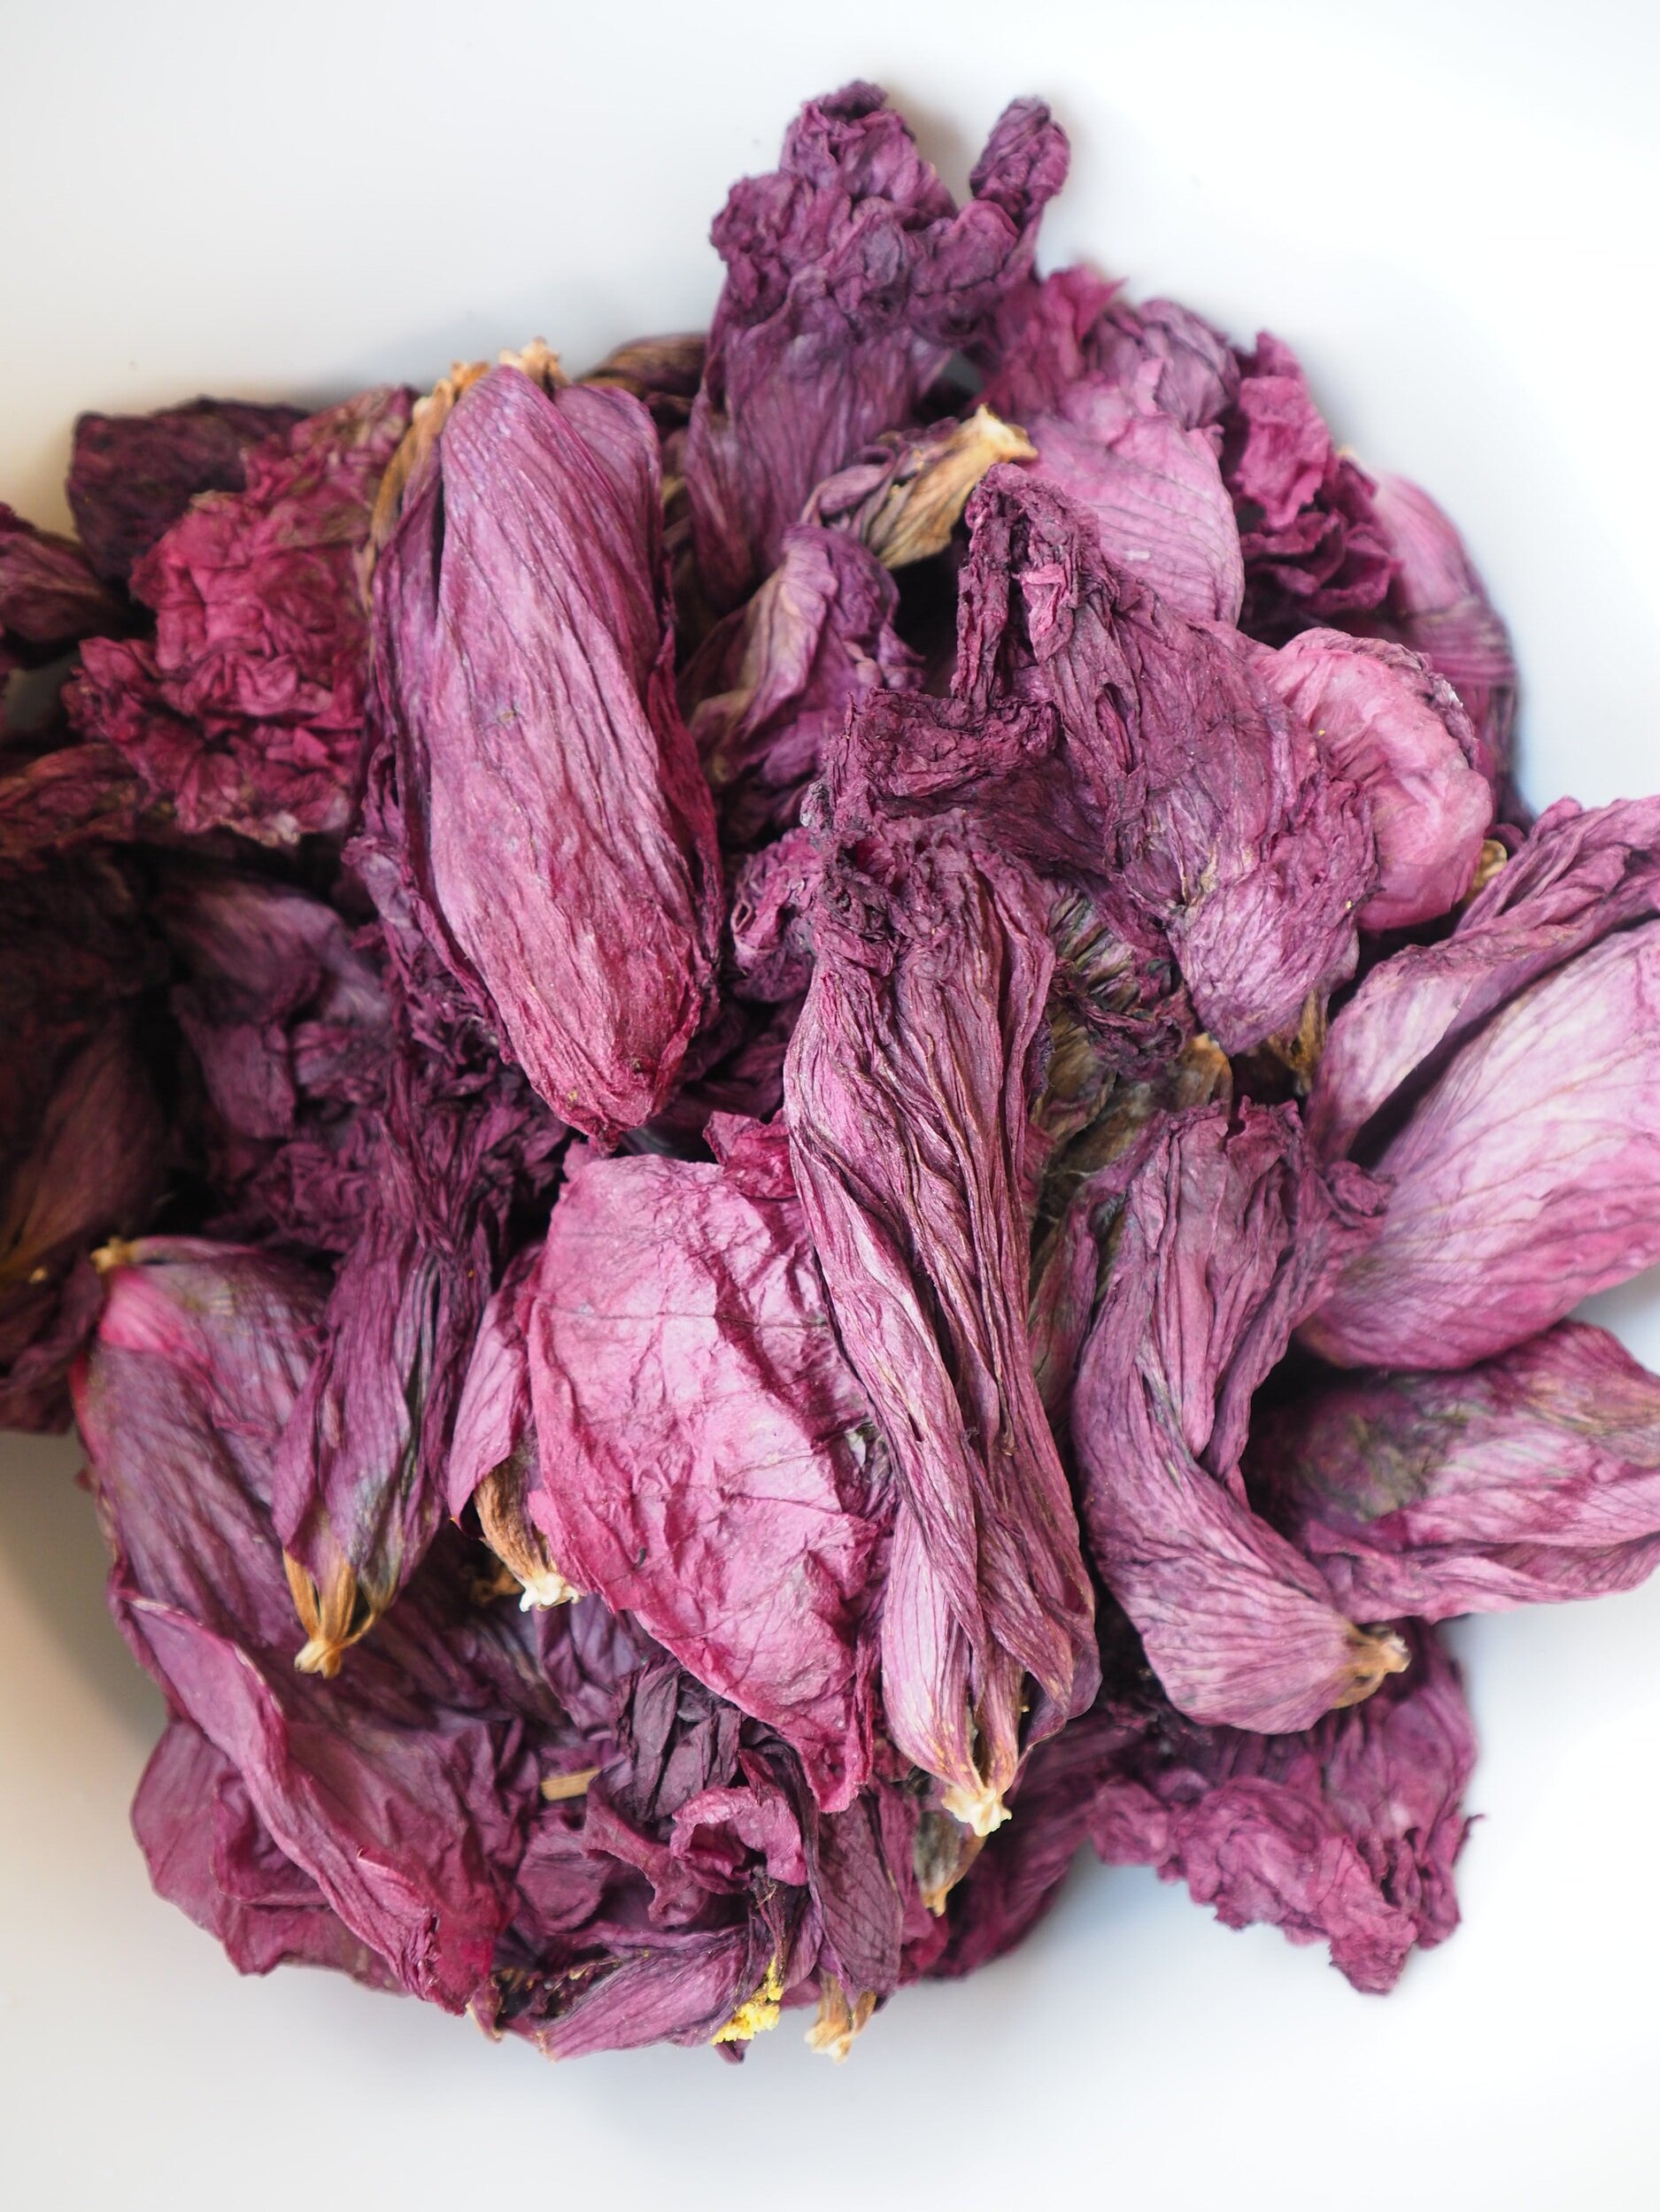
The hardy hibiscus plants have been really prolific with blooms this summer. I’d read that the blooms were only good to use fresh, but I tried drying them because I had more blooms than I even knew what to do with. I’m so glad I did - they’re potent as heck! I added a hefty amount of dry blooms to water (didn’t weigh them but will start to!), cooked them at 180F for about 1/2 an hour until the blooms were basically transparent-white and slimy, strained them, and added my recycled cotton fabric.
Below you’ll see two slightly different but very intense shades. On the left and greener, was the first draw from the dye bath. After straining out the blooms I added in the fabric, cooked it at 180F for about half an hour and then let it sit in the dye bath overnight.
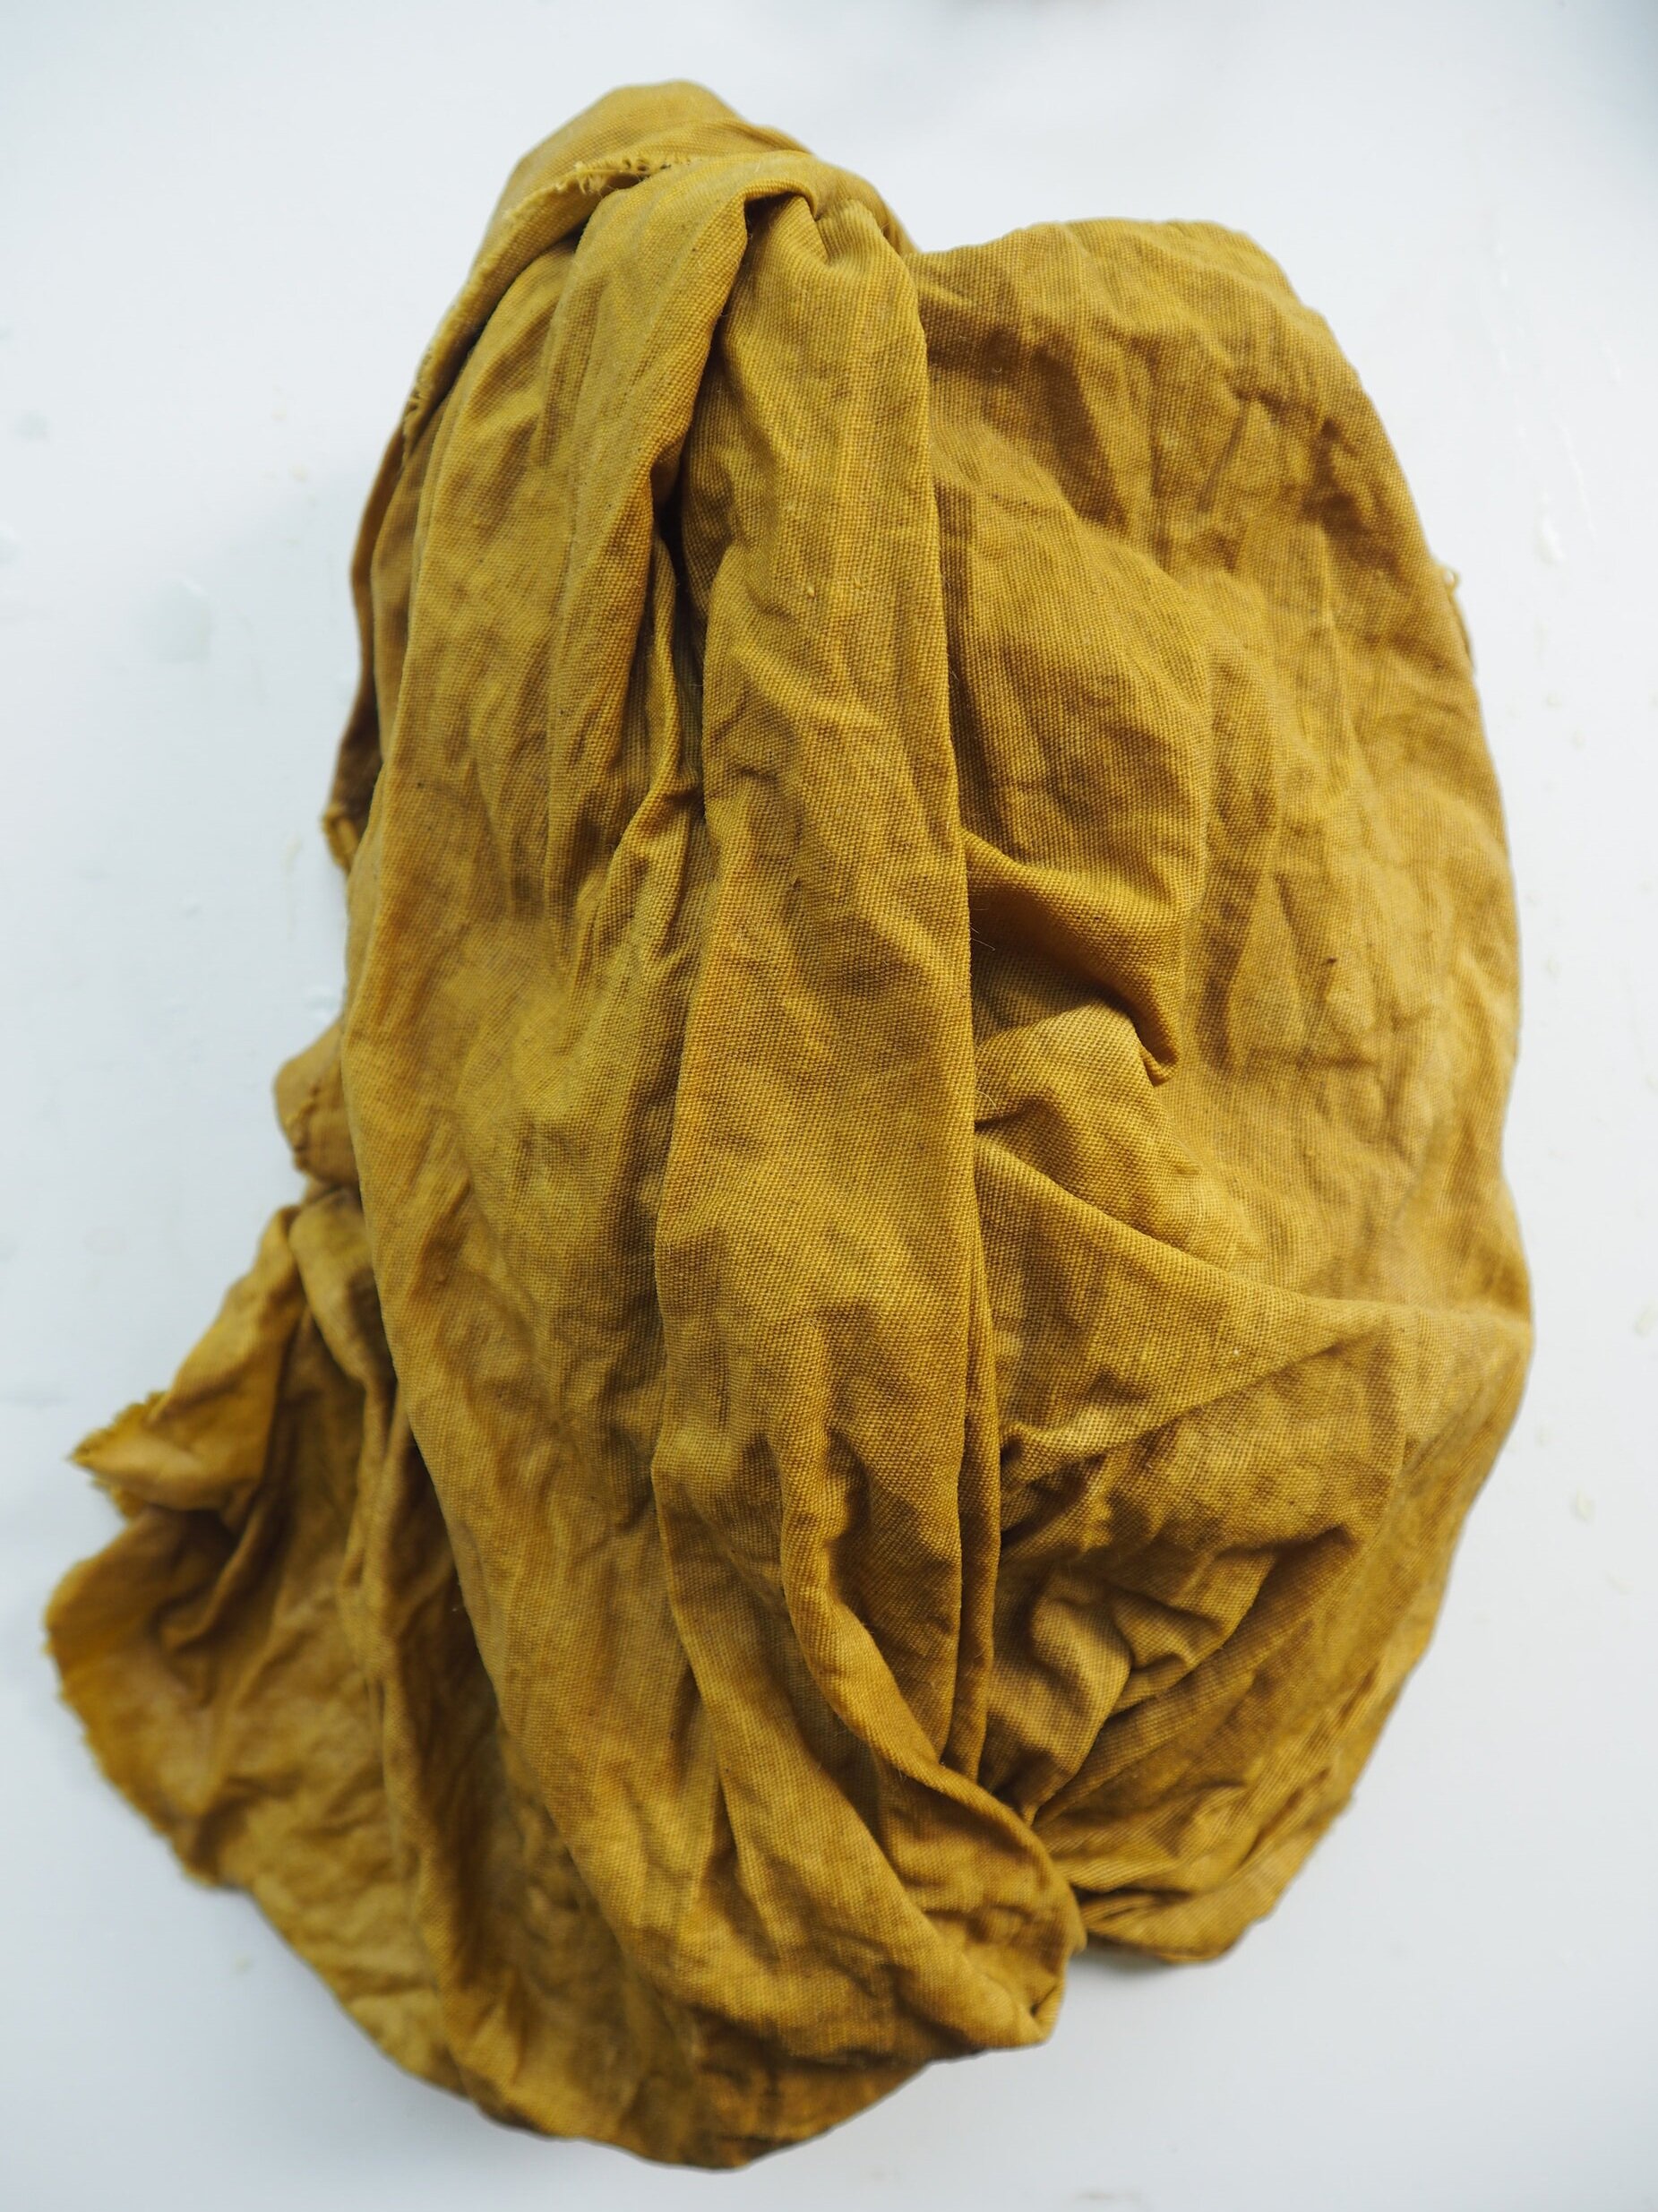
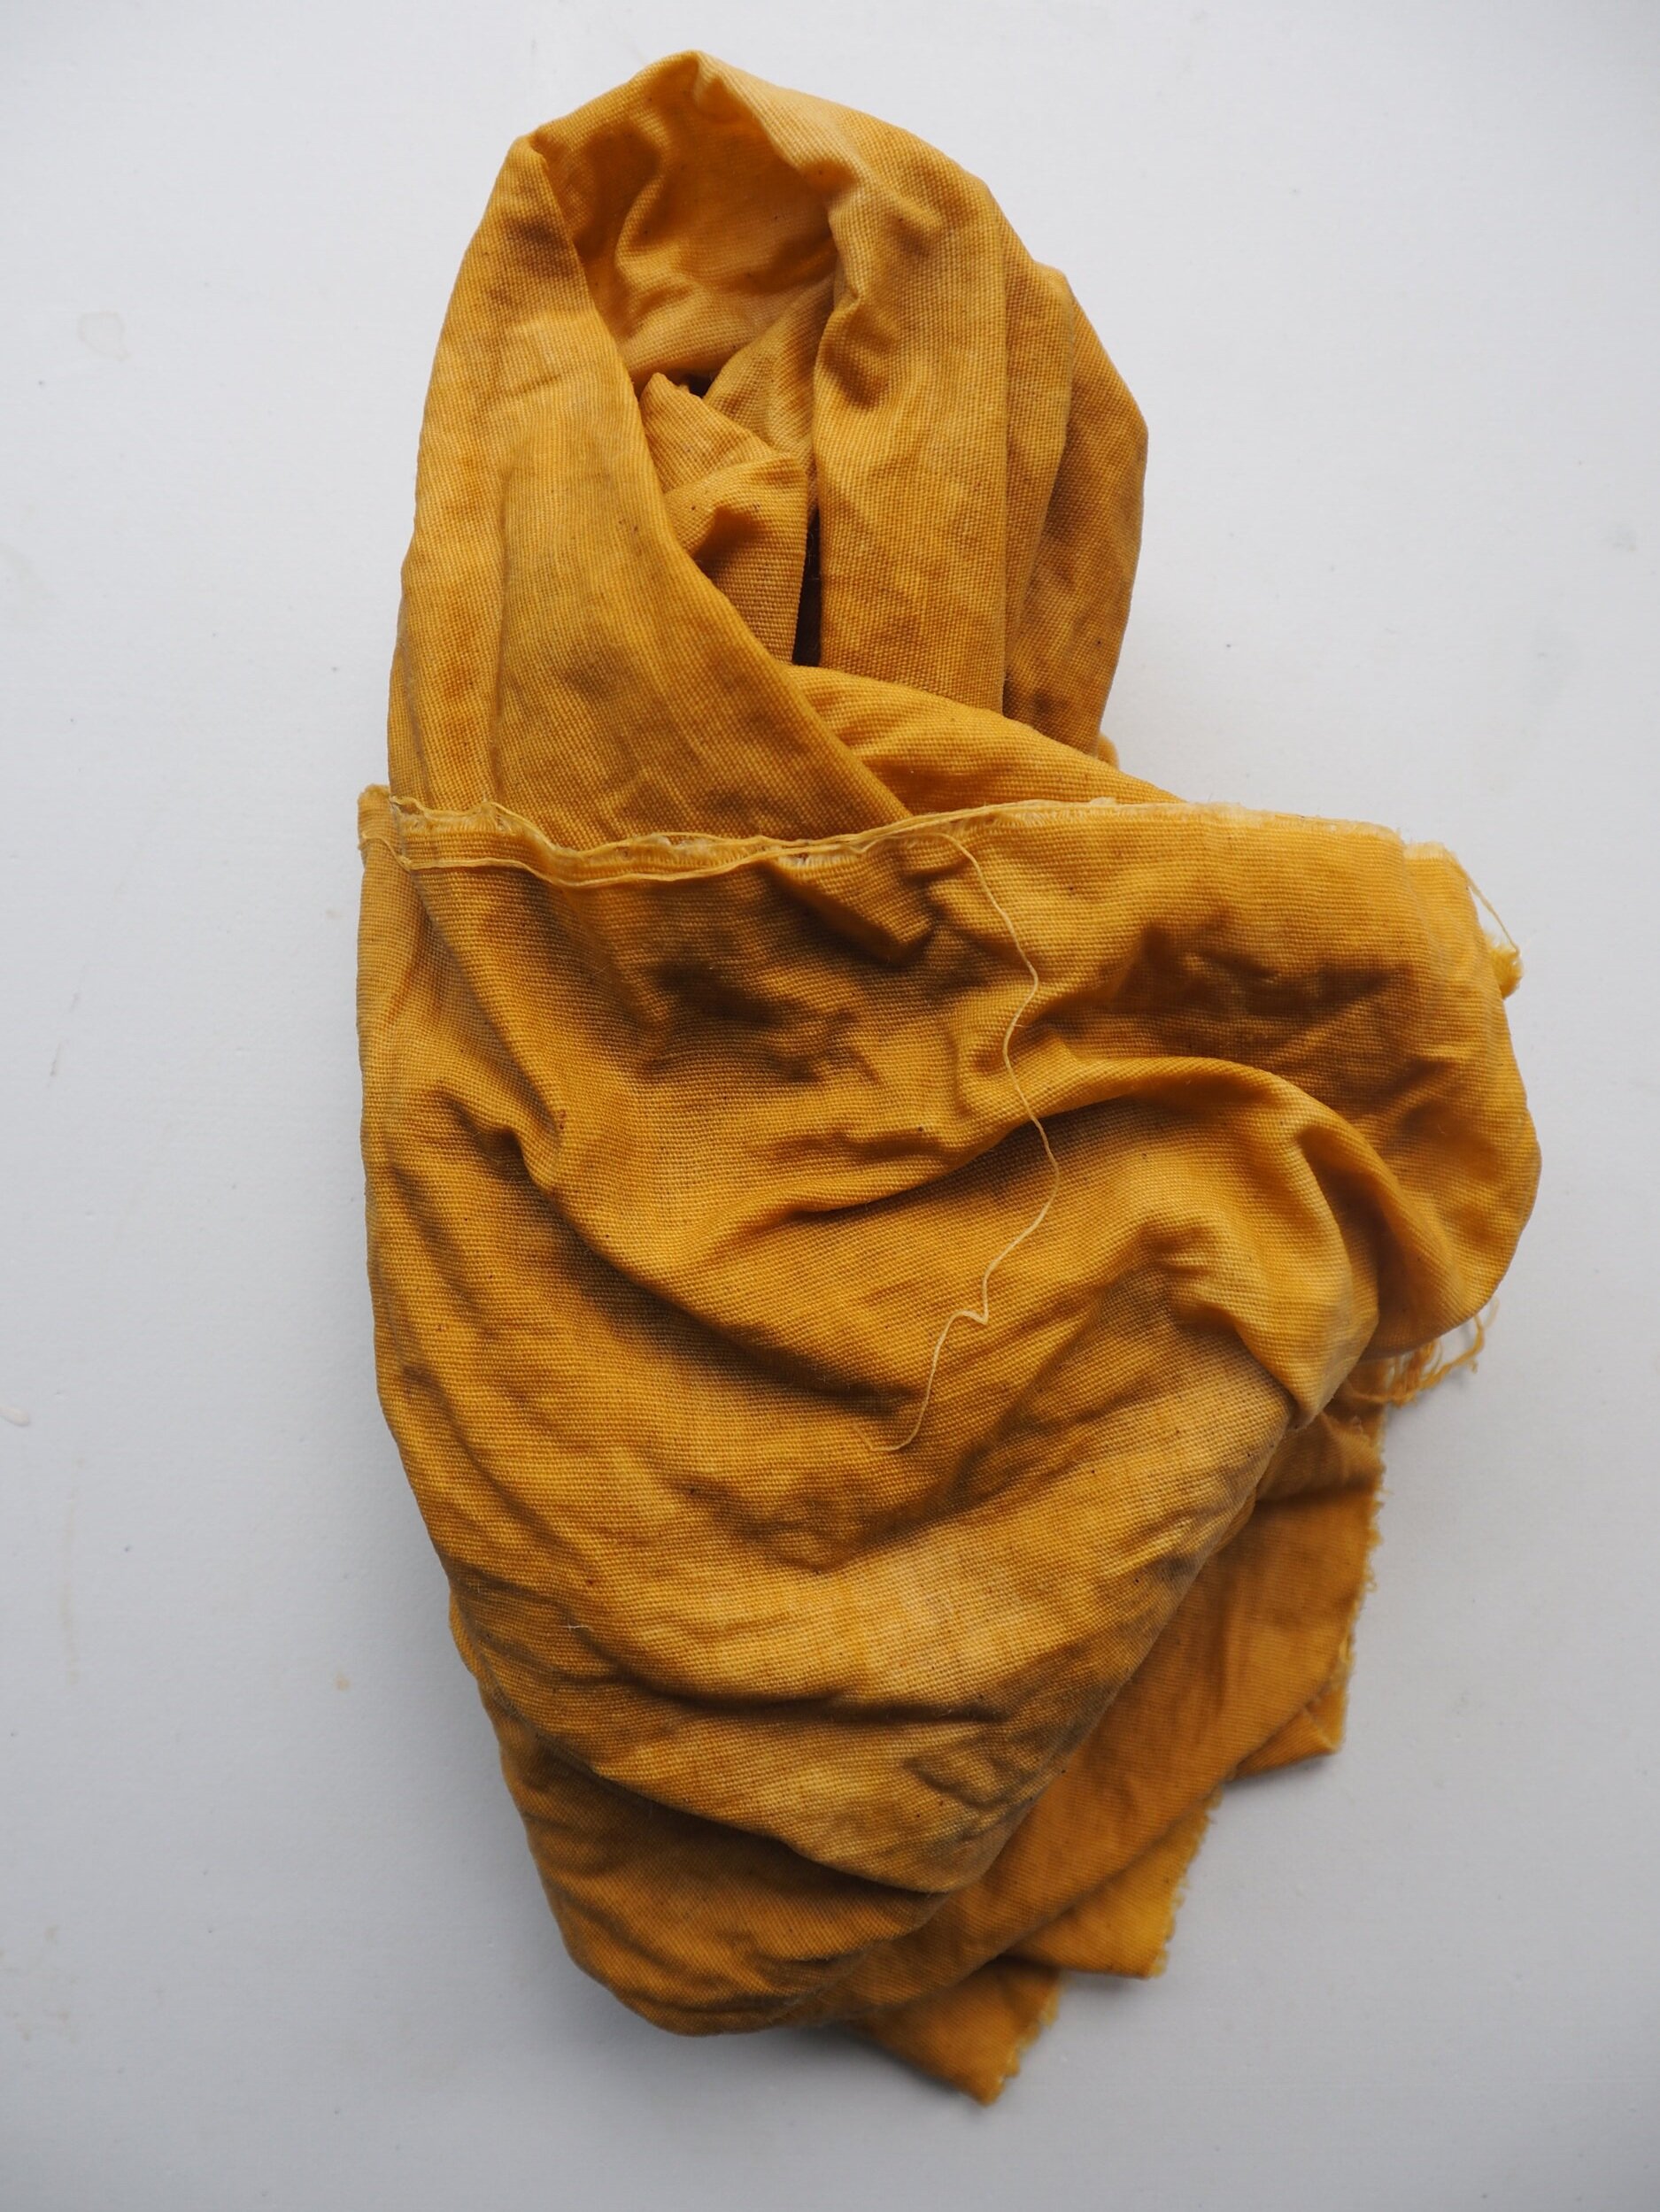
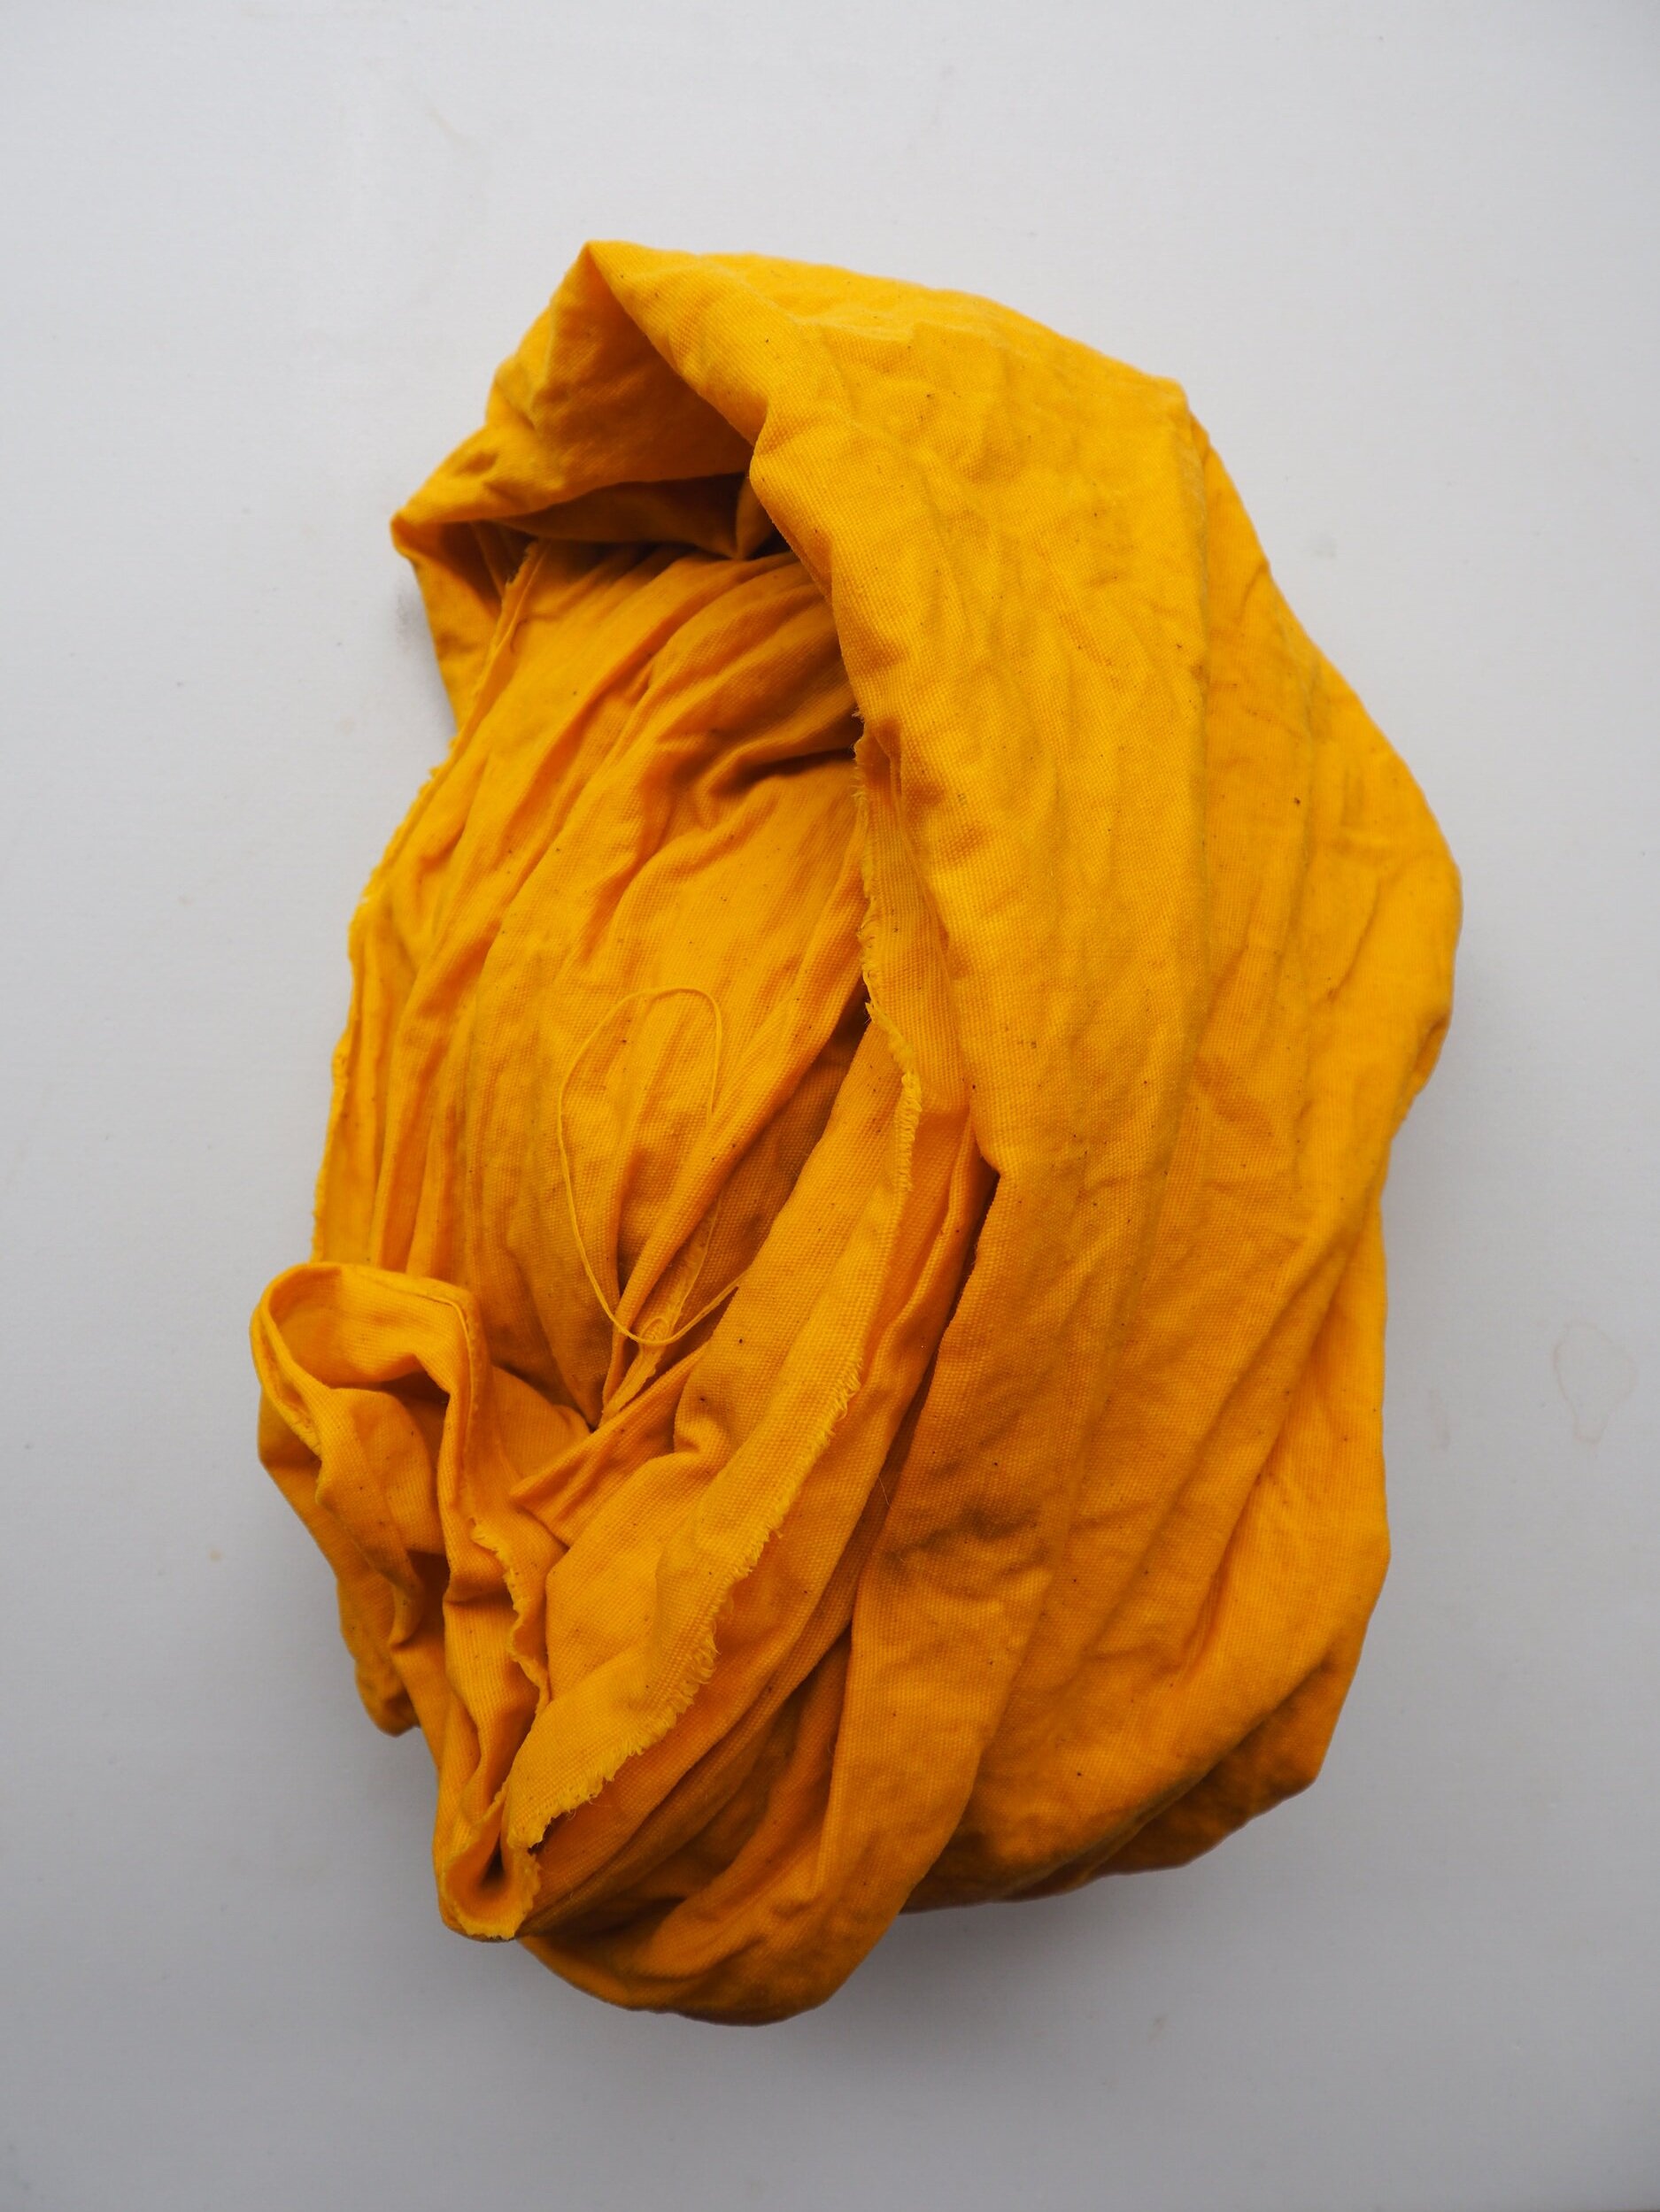
The next day I took it out, rinsed it in water and hung it up to dry. The dye pot still seemed so full of pigment that I added another piece of fabric and ended up with the color below on the right. I reheated the pot to 180F, cooked it for about half an hour and let it sit overnight again and ended up with this gorgeous, potent mustard color.
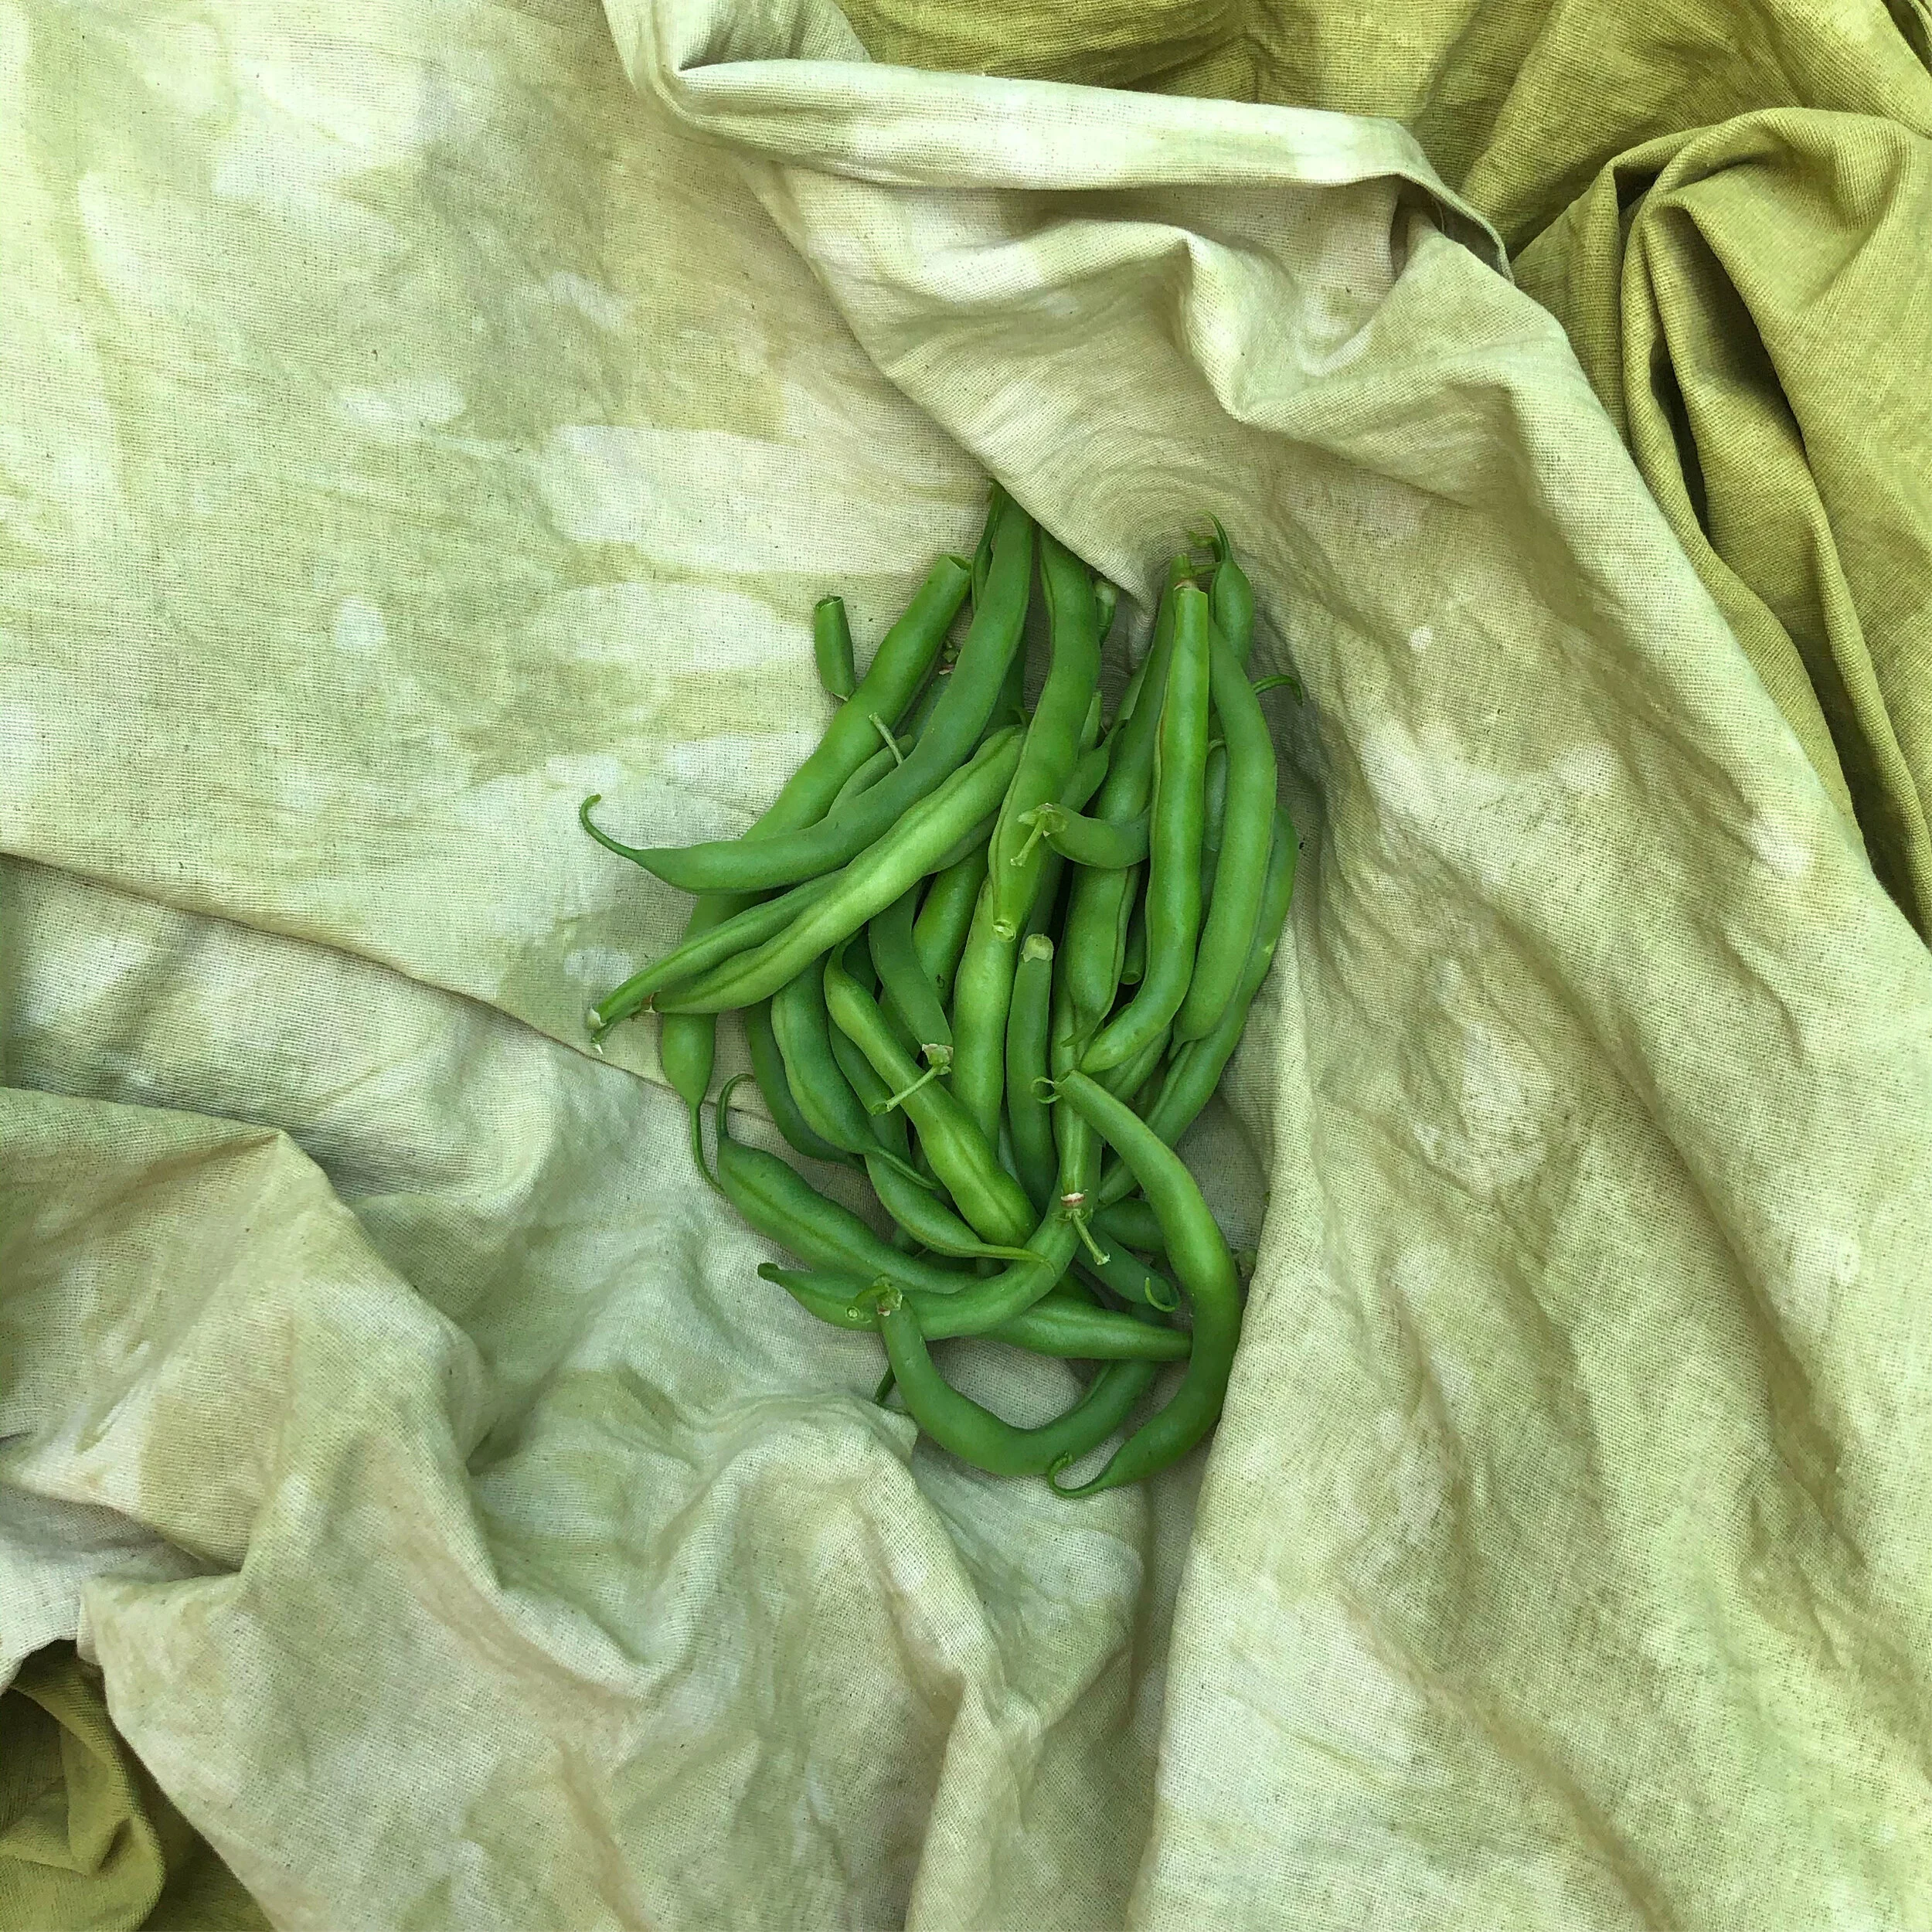
I will say that when I’ve used fresh blooms and put them straight into the dye pot, I get more “fertile” greens (as I’ve been calling them) - closer to a true green than the chartreuse I got from the dried blooms, or mustard I got from day 2. Here are a couple of dried fabrics with some green beans from my garden:
Purple Basil:
Another Anthocyanin plant just like the hardy hibiscus, purple basil can produce a range of color and is sensitive to ph and light. Anthocyanin dyes can be less light fast than some other natural dyes (perfect for things that you might wear or use in indirect light most of the time). I’m so attracted to all of these colors and find myself so excited to see what comes out of the dye bath on any given day, and feel less concerned with how many years their colors linger, at least at the moment!
When harvesting the purple basil, I ended up filling my bag with almost all basil flowers. I have five plants and they’re all pretty bushy, so I wasn’t even done pruning back the flowers and I’d already gotten all I needed for a fist dye bath. They worked great! The produced the most beautiful color.
I cooked the basil for 30-45 mins at 180F, till it was completely green and boiled looking, and strained it. The liquid was a beautiful purple color.
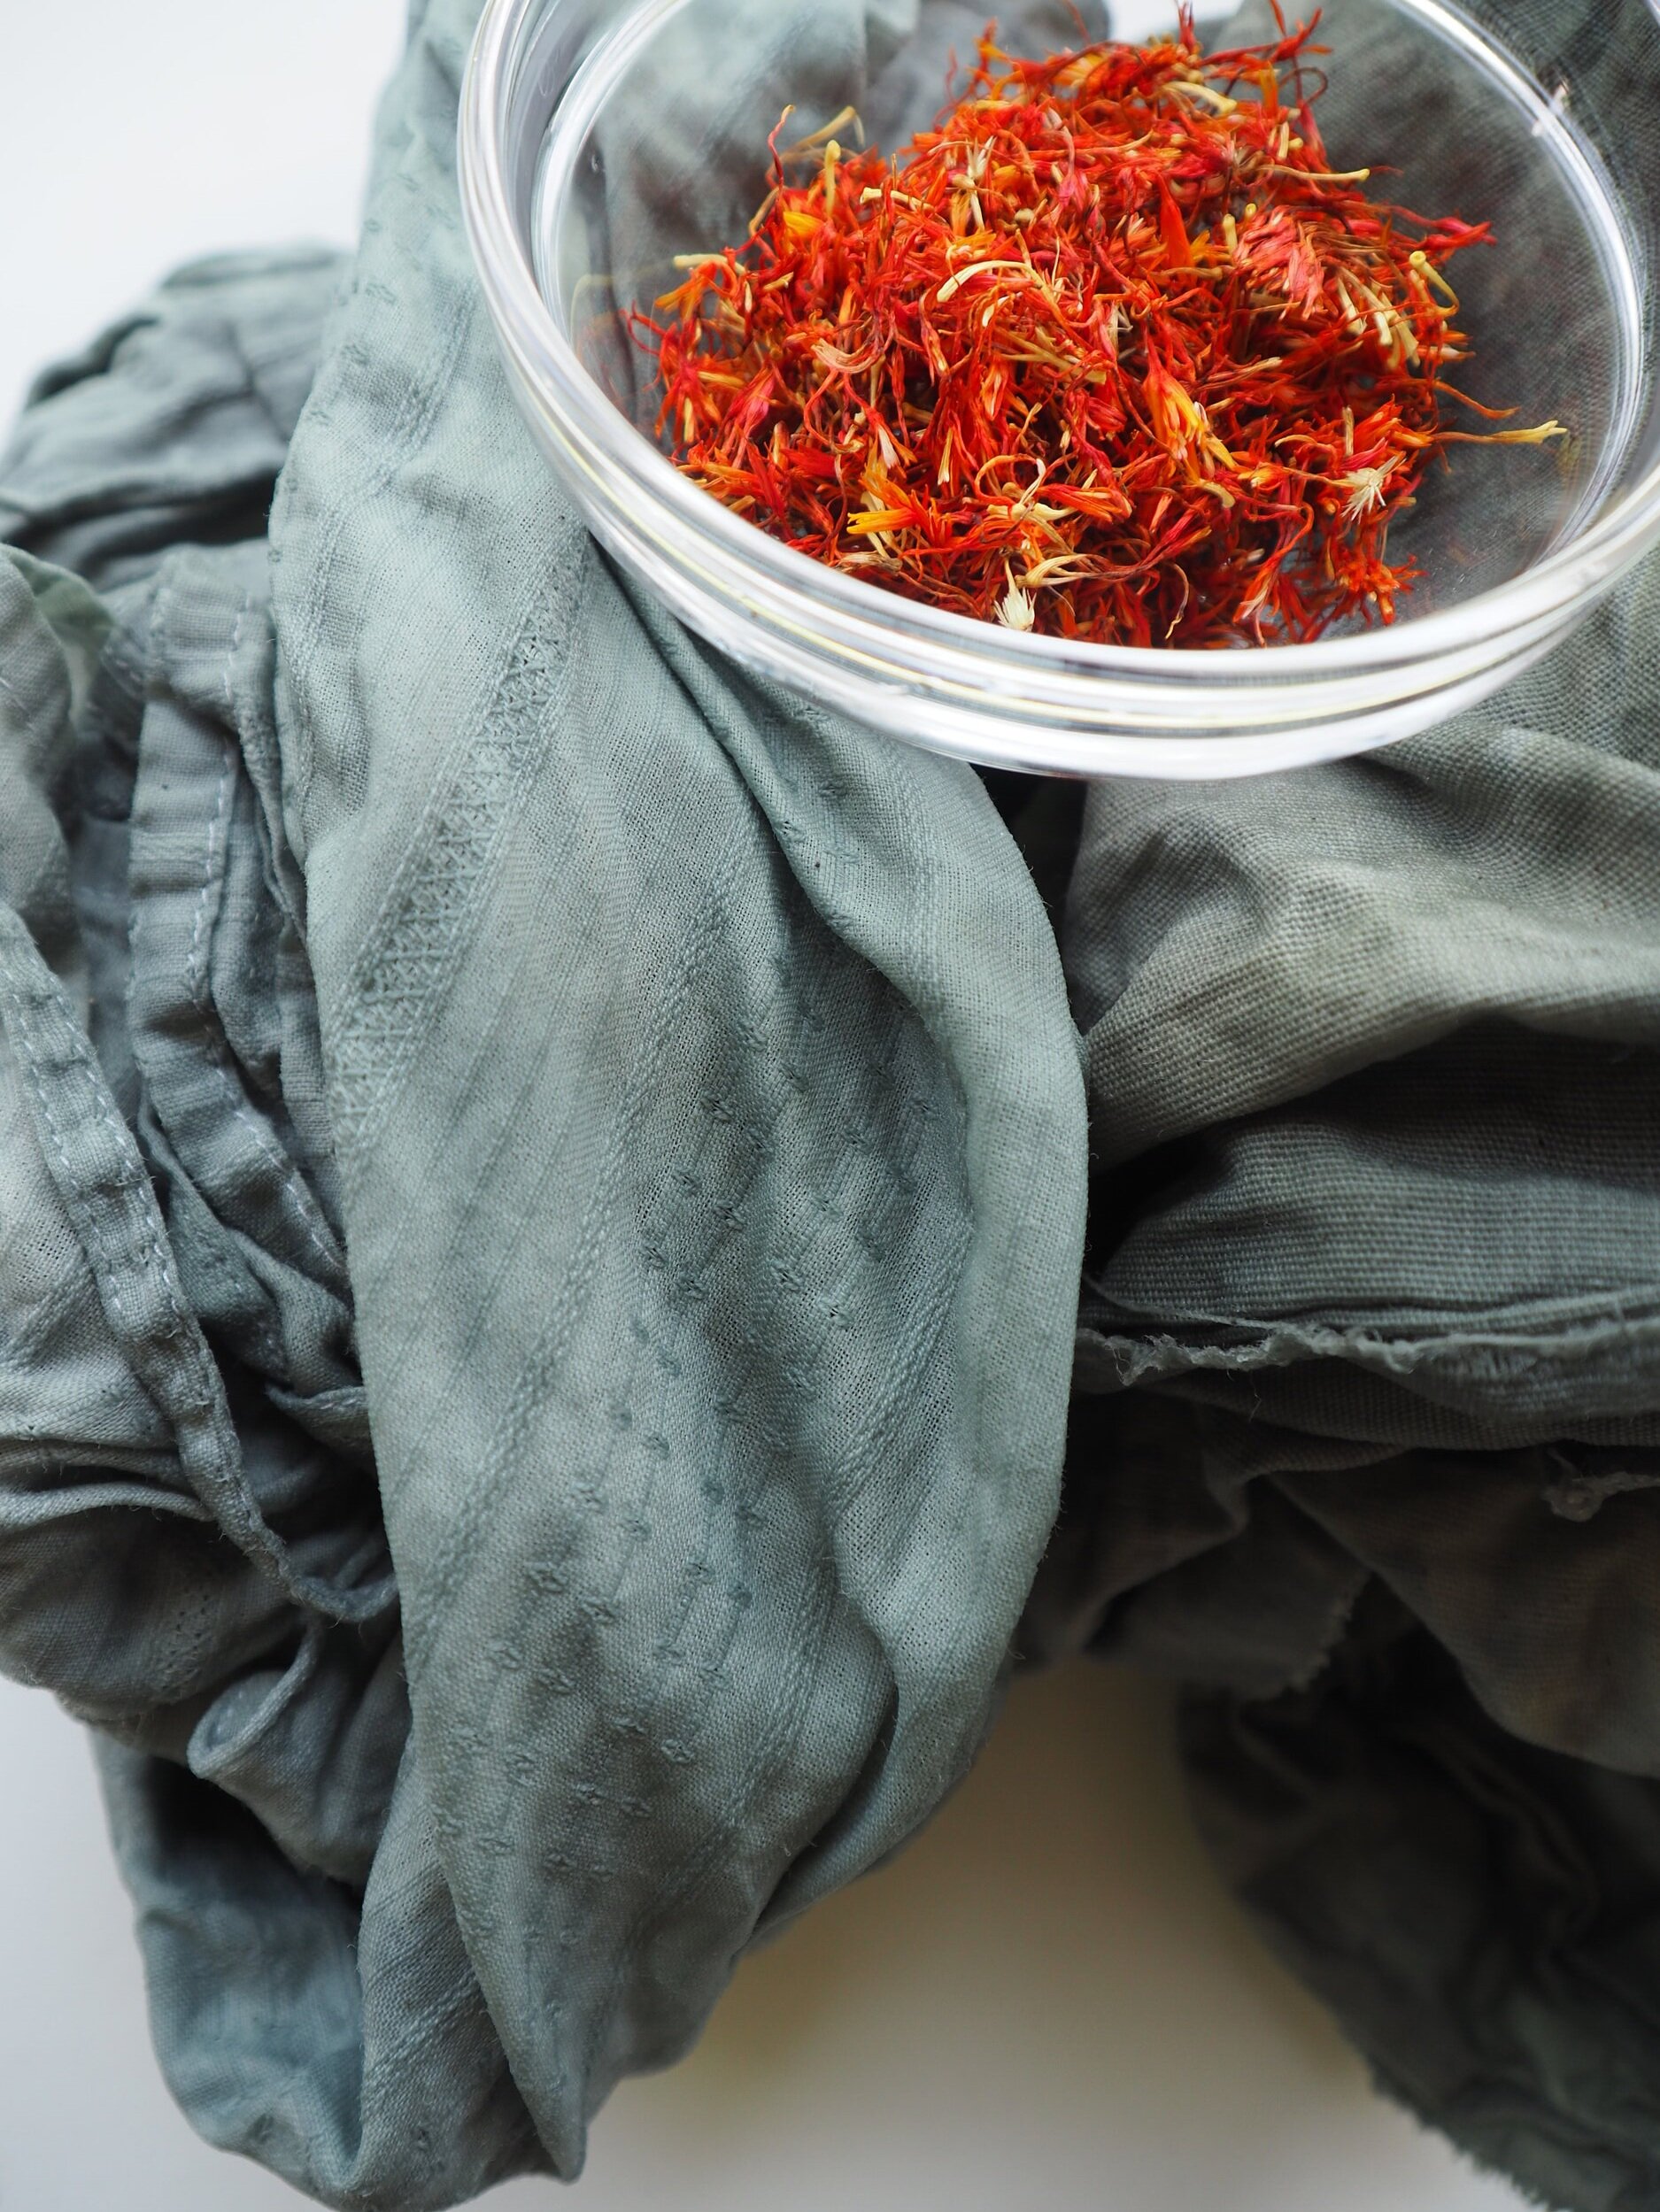
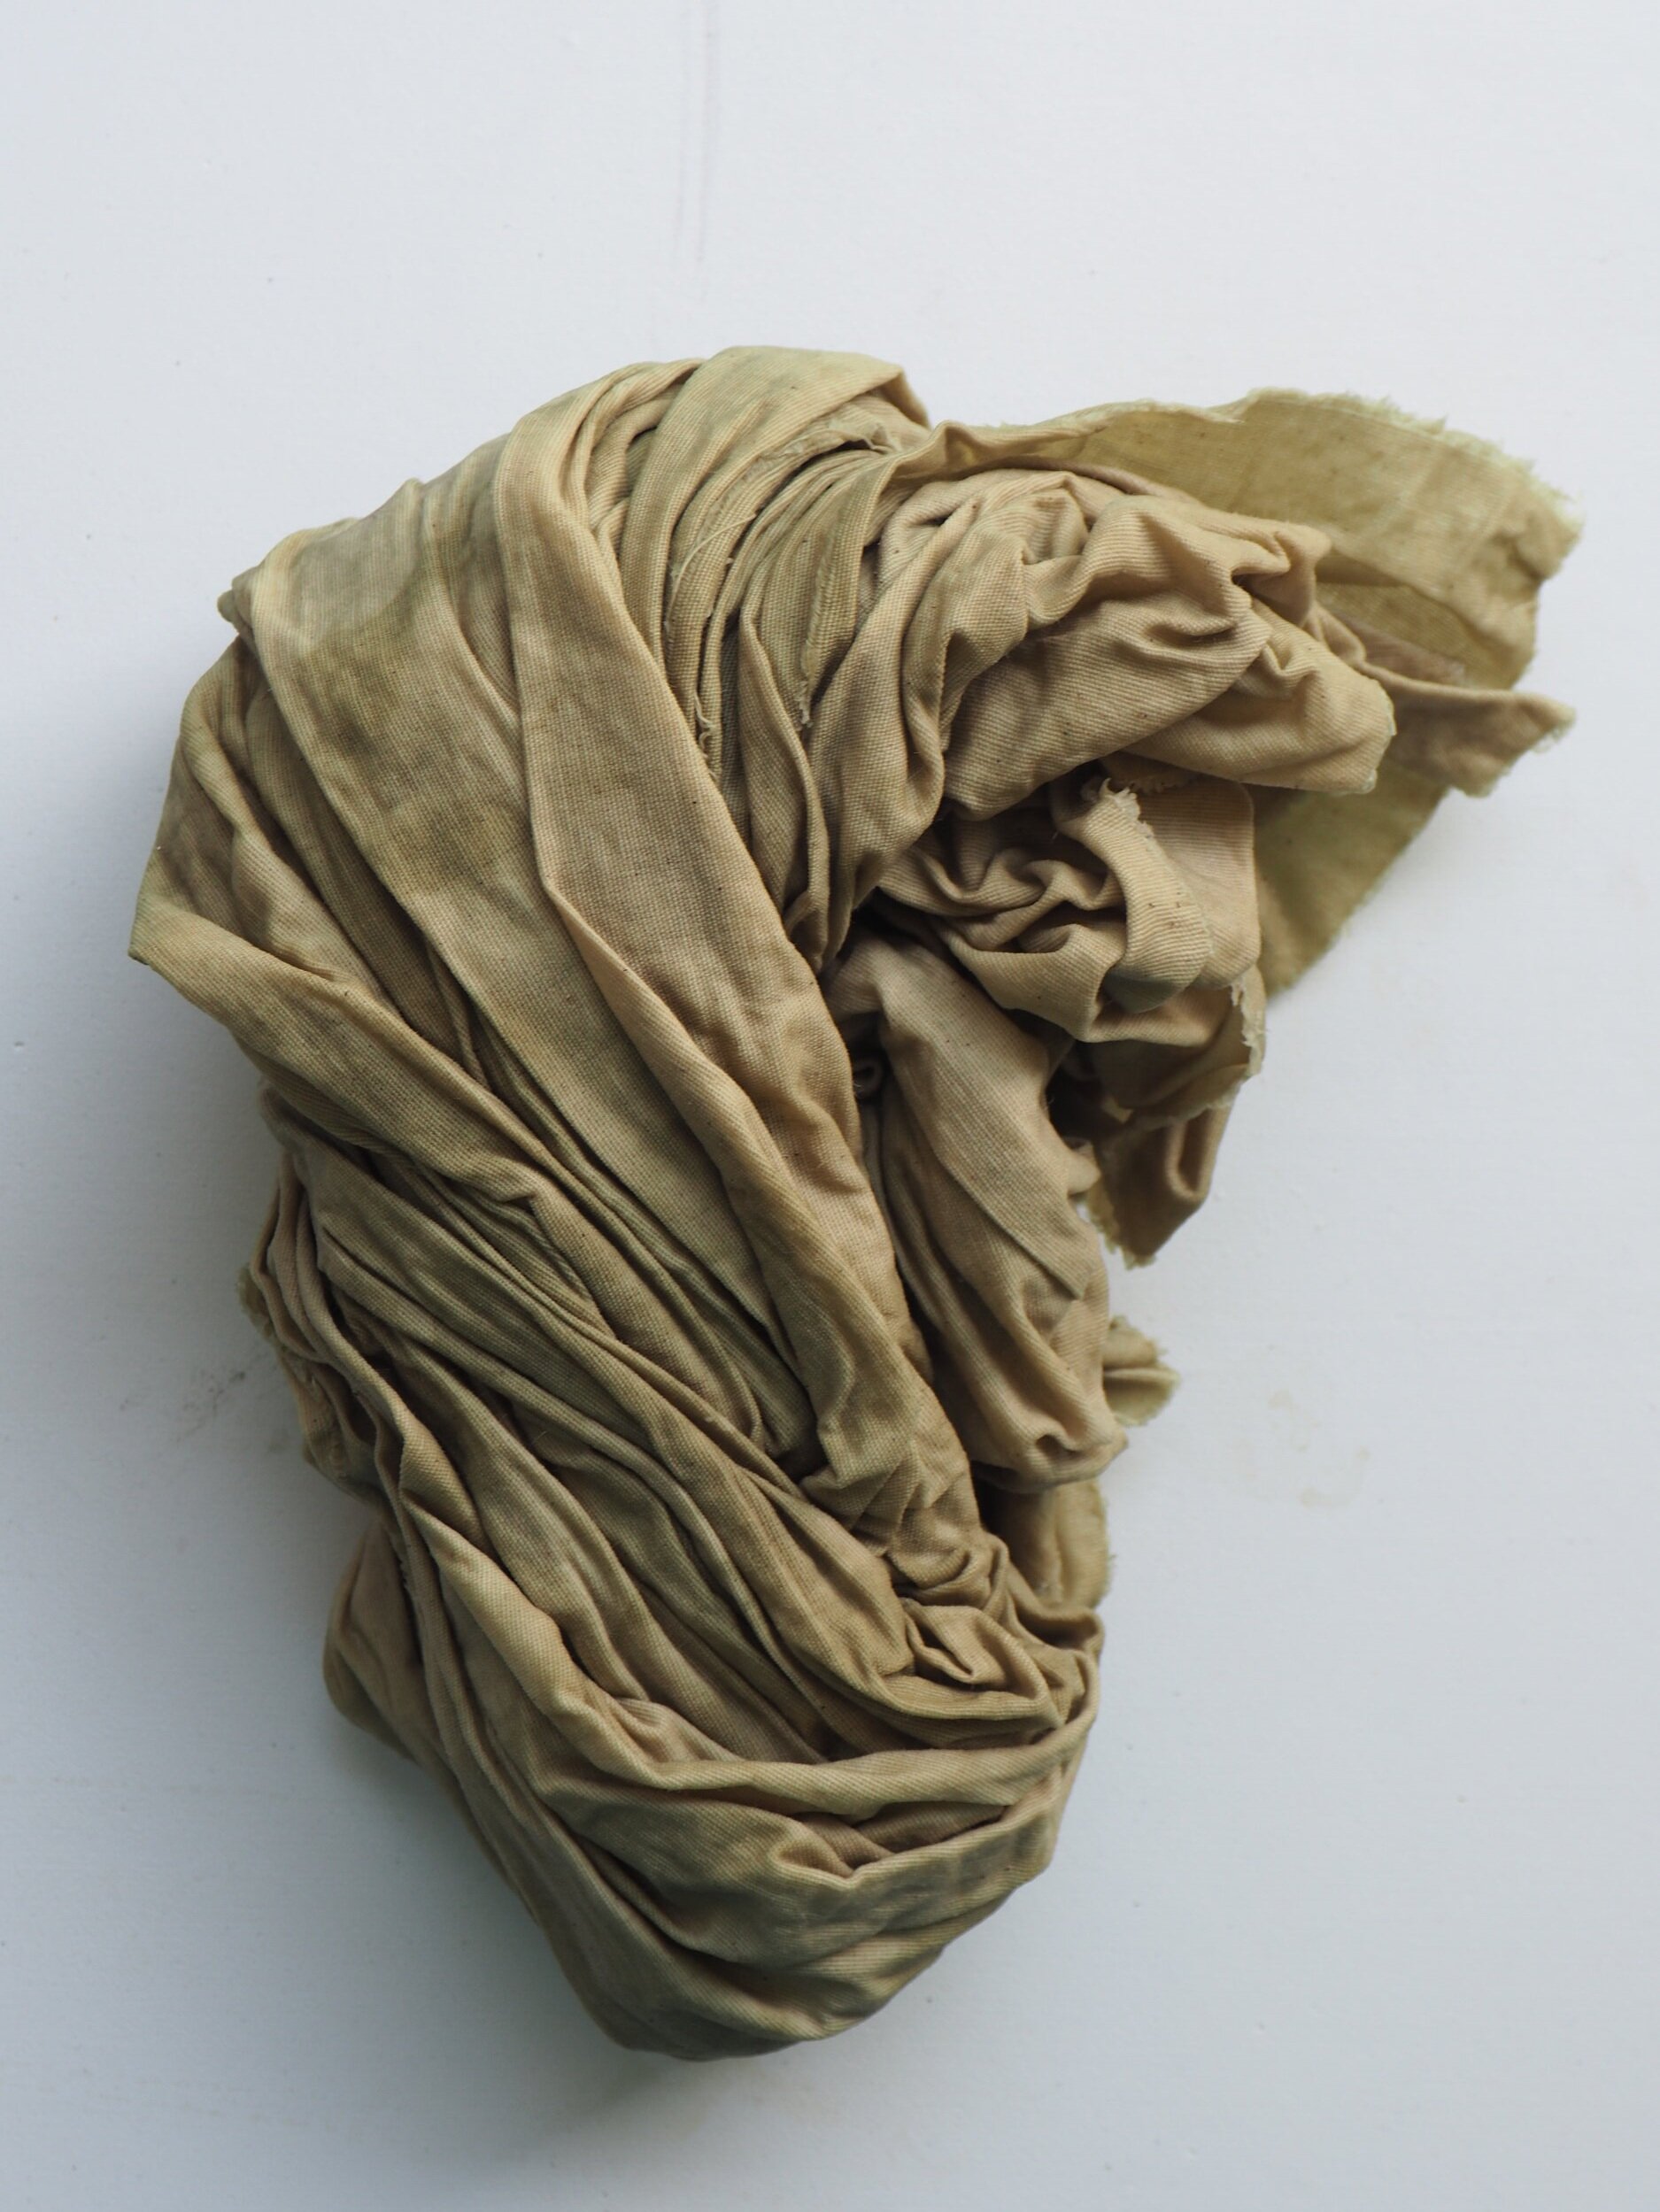
The first time I tried dyeing with purple basil I got the slate teal color below on the left. The second time I tried it, I got a sage greenish color, the third time I got the slate teal color again, and then I tried to dye a second yard of fabric in that same bath and it came out an olive color (bottom right). Throws hands up in the air in excited exasperation! who knows! I love it!
I will admit that on that third try, after I’d gotten the slate teal color and I put in the second yard of fabric, I switched burners and the dye bath reached a boil without my intending it to - wondering if the heat broke the color somehow. Only more experiments will tell!

Purple basil tops / flowers ready for the dye pot!
Dyer’s Chamomile:
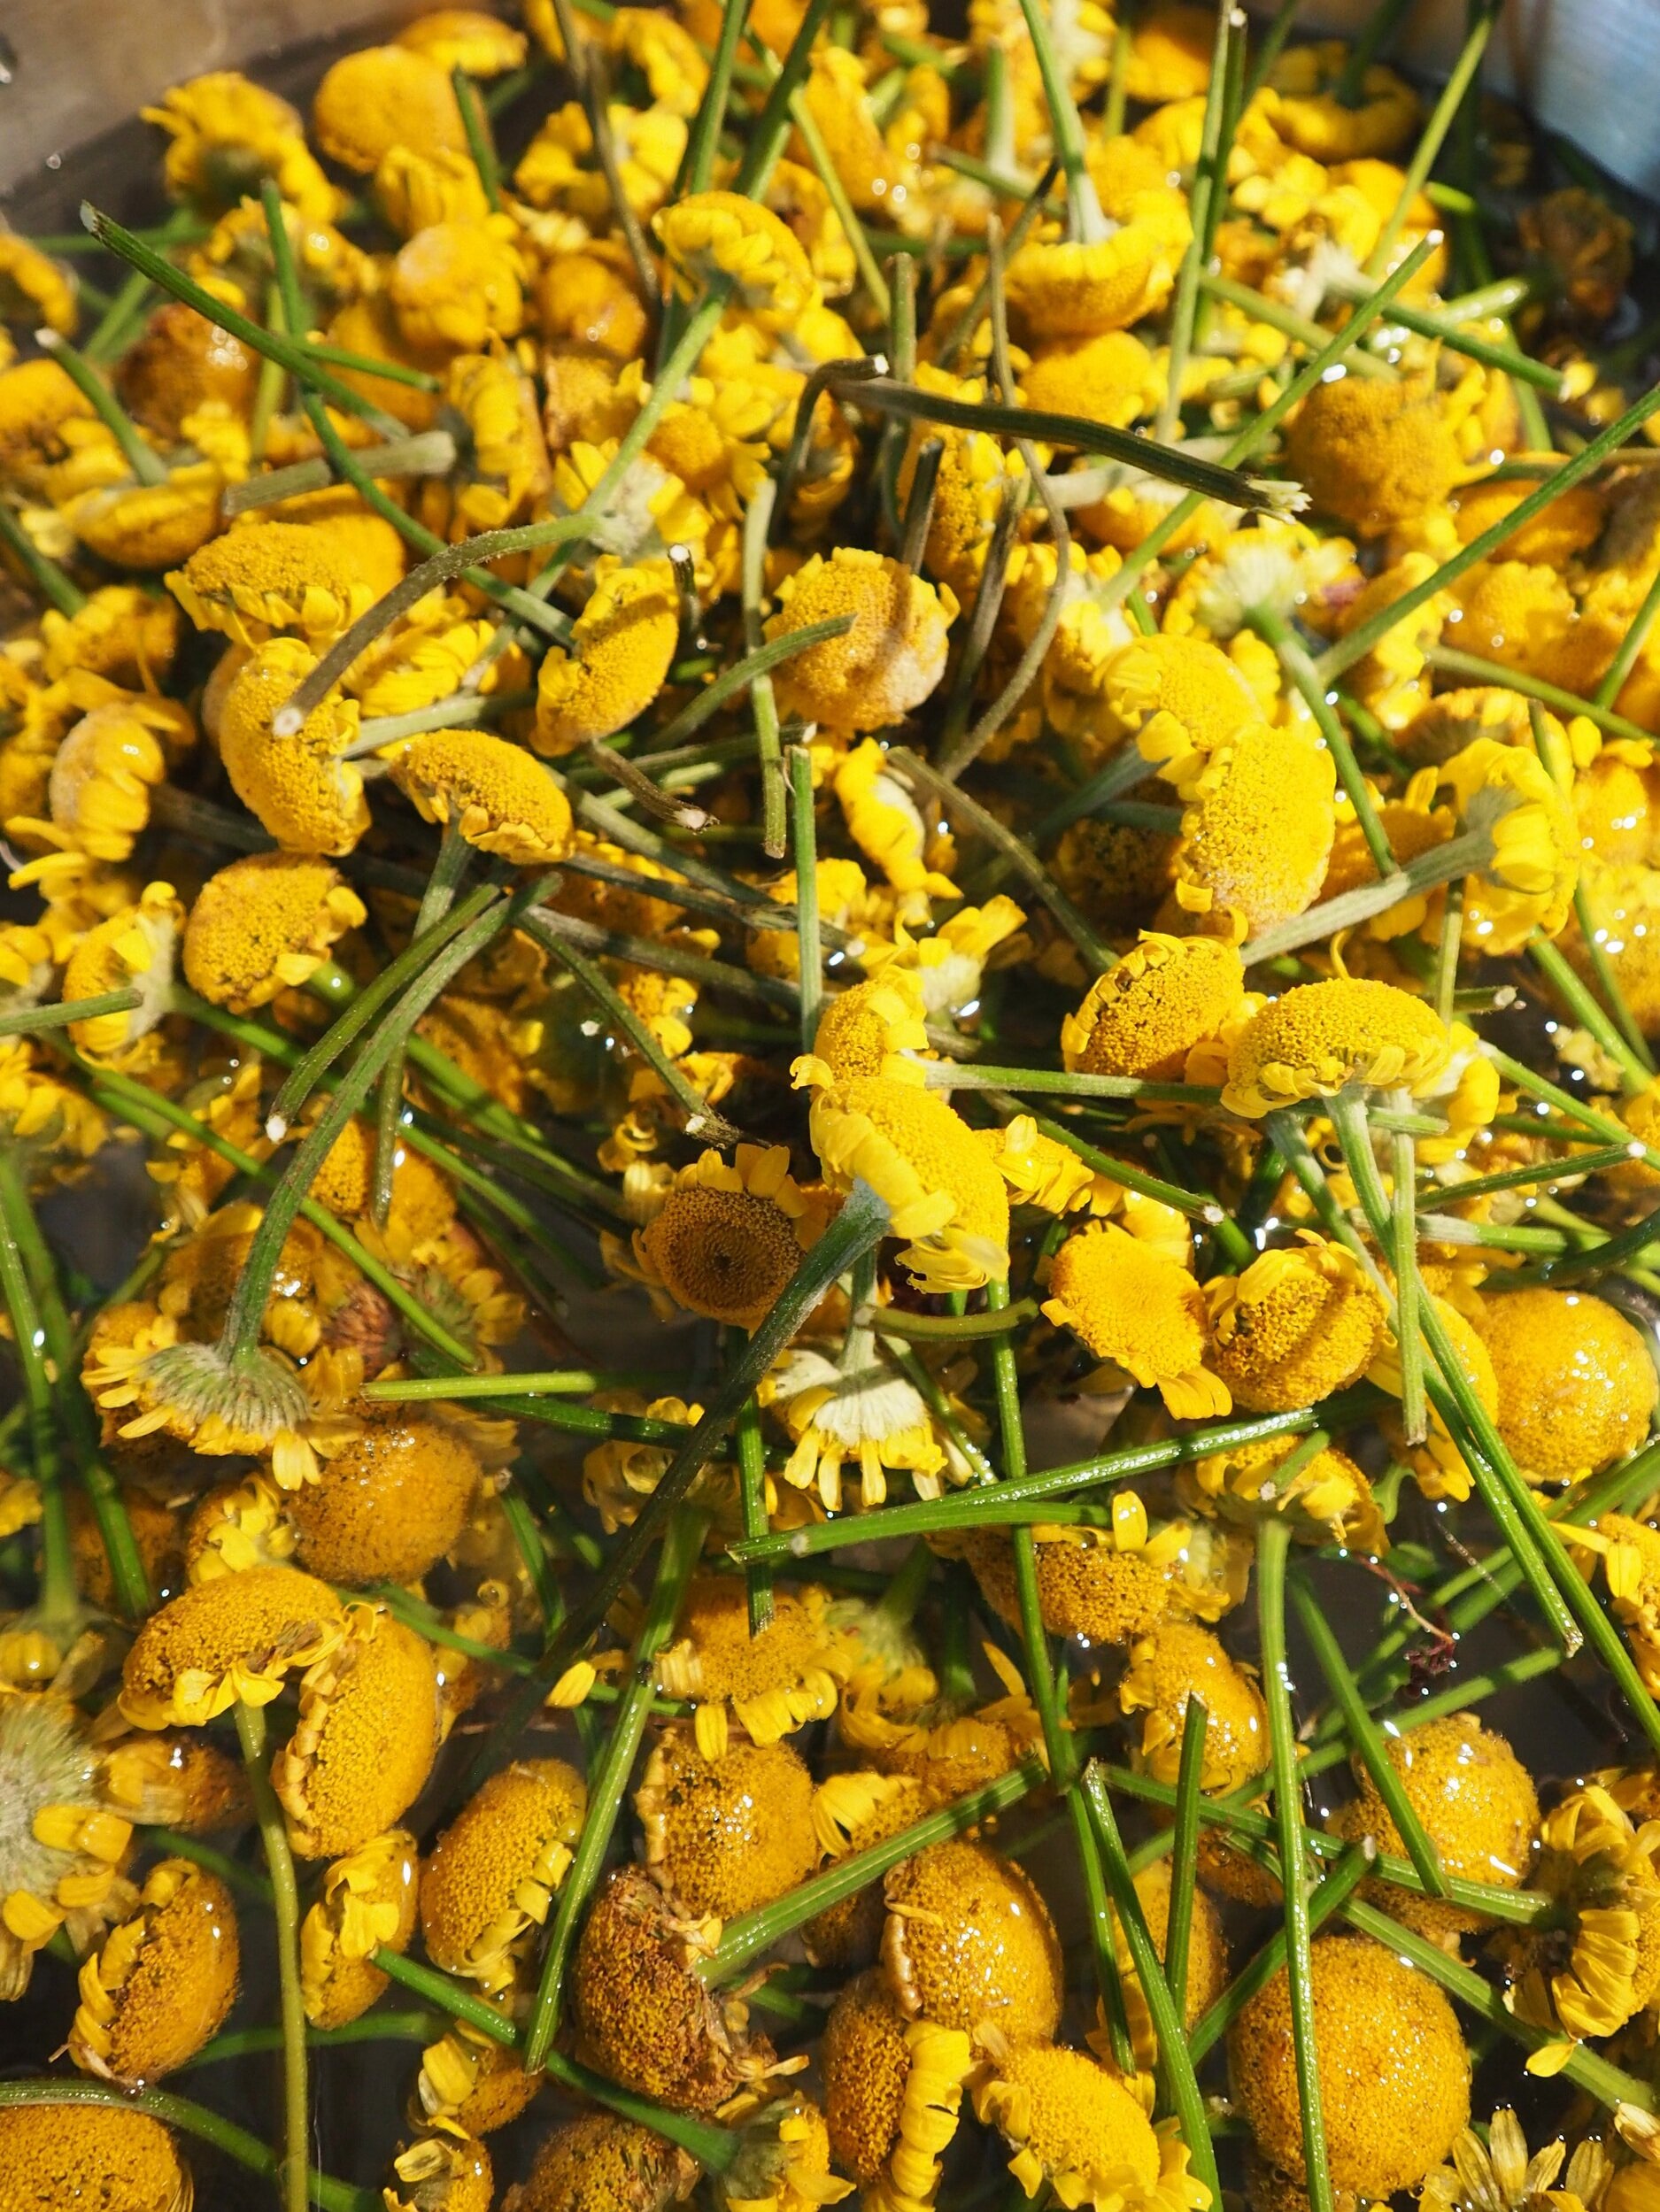
Dyer’s Chamomile was officially in the second batch of dyeing I did and fabric preparation came with more ease that time around. Thank goodness! It’s a more predictable outcome as a dye plant → dye color. Suprise! It dyes yellow! That being said, it’s hard to describe how warm and sunshiney the shade of yellow is. It’s truly remarkable and soothing.
I picked only the mature blooms and collected them in a gallon freezer bag in the freezer. Rita Buchanan recommends picking them once their petals have started to fade in A Dyer’s Garden , the book I’ve sort of been using as a guide this first planting/growing/dyeing year. I think I let the flowers go a little longer than she suggests before harvesting them, but I love the color that turned out! It seemed to make sense to let all the little flowers in the middle open fully before picking them - they looked like little buttons when I’d come around for them - with their petals wrapped under their centers 75% of the time (like in the photo below, right).
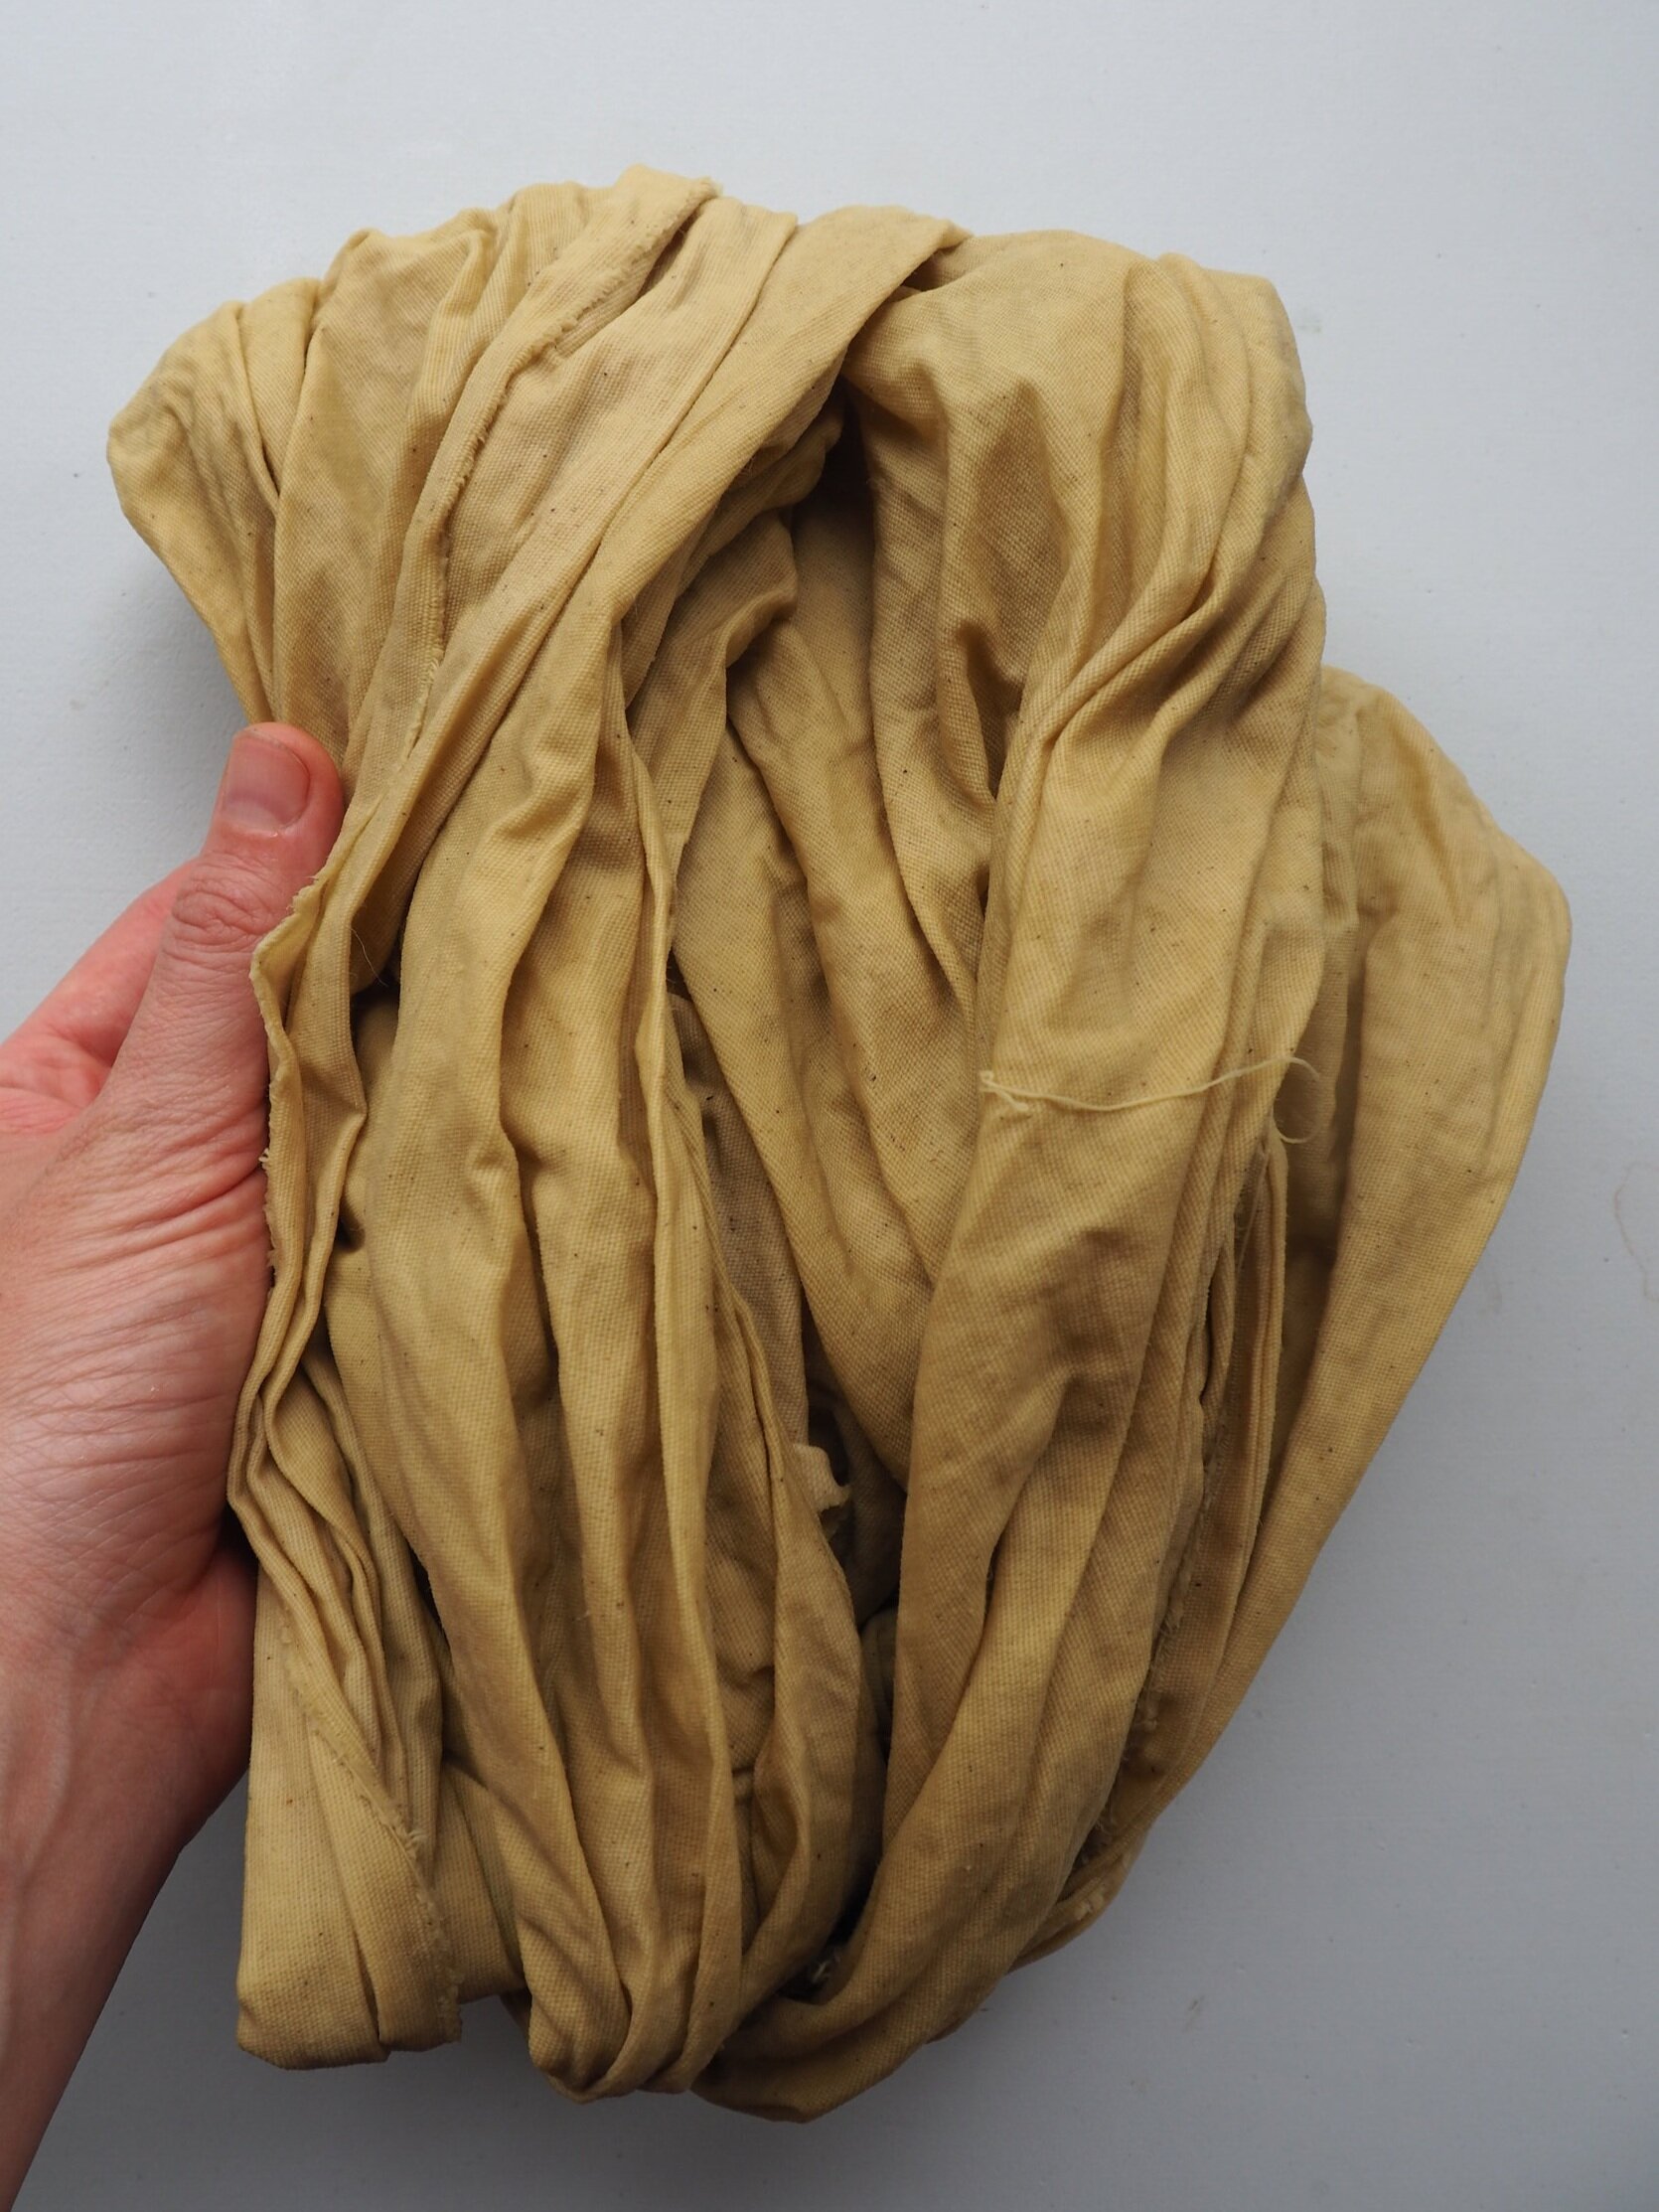
I cooked the flowers for 45ish minutes until the dye bath was a rich yellow, and then strained it. I wish I’d kept the flowers and reused them, I think they had more in them, but I didn’t realize it at the time!
After straining them I put a yard of recycled fabric in the pot and cooked it for 45ish minutes at 180F and then let is cool/sit overnight. I’m so in love with this yellow!
Sunflowers:
I planted two types of sunflowers this year - Tarahumara Sunflowers and Hopi Black Dye Sunflowers. I planted the Hopi Black Dye for the seeds, where the “black” pigment is located, and I planted the Tarahumara sunflowers to dye with as well - sunflowers are supposed to dye a soft green color - you cook the whole heads.
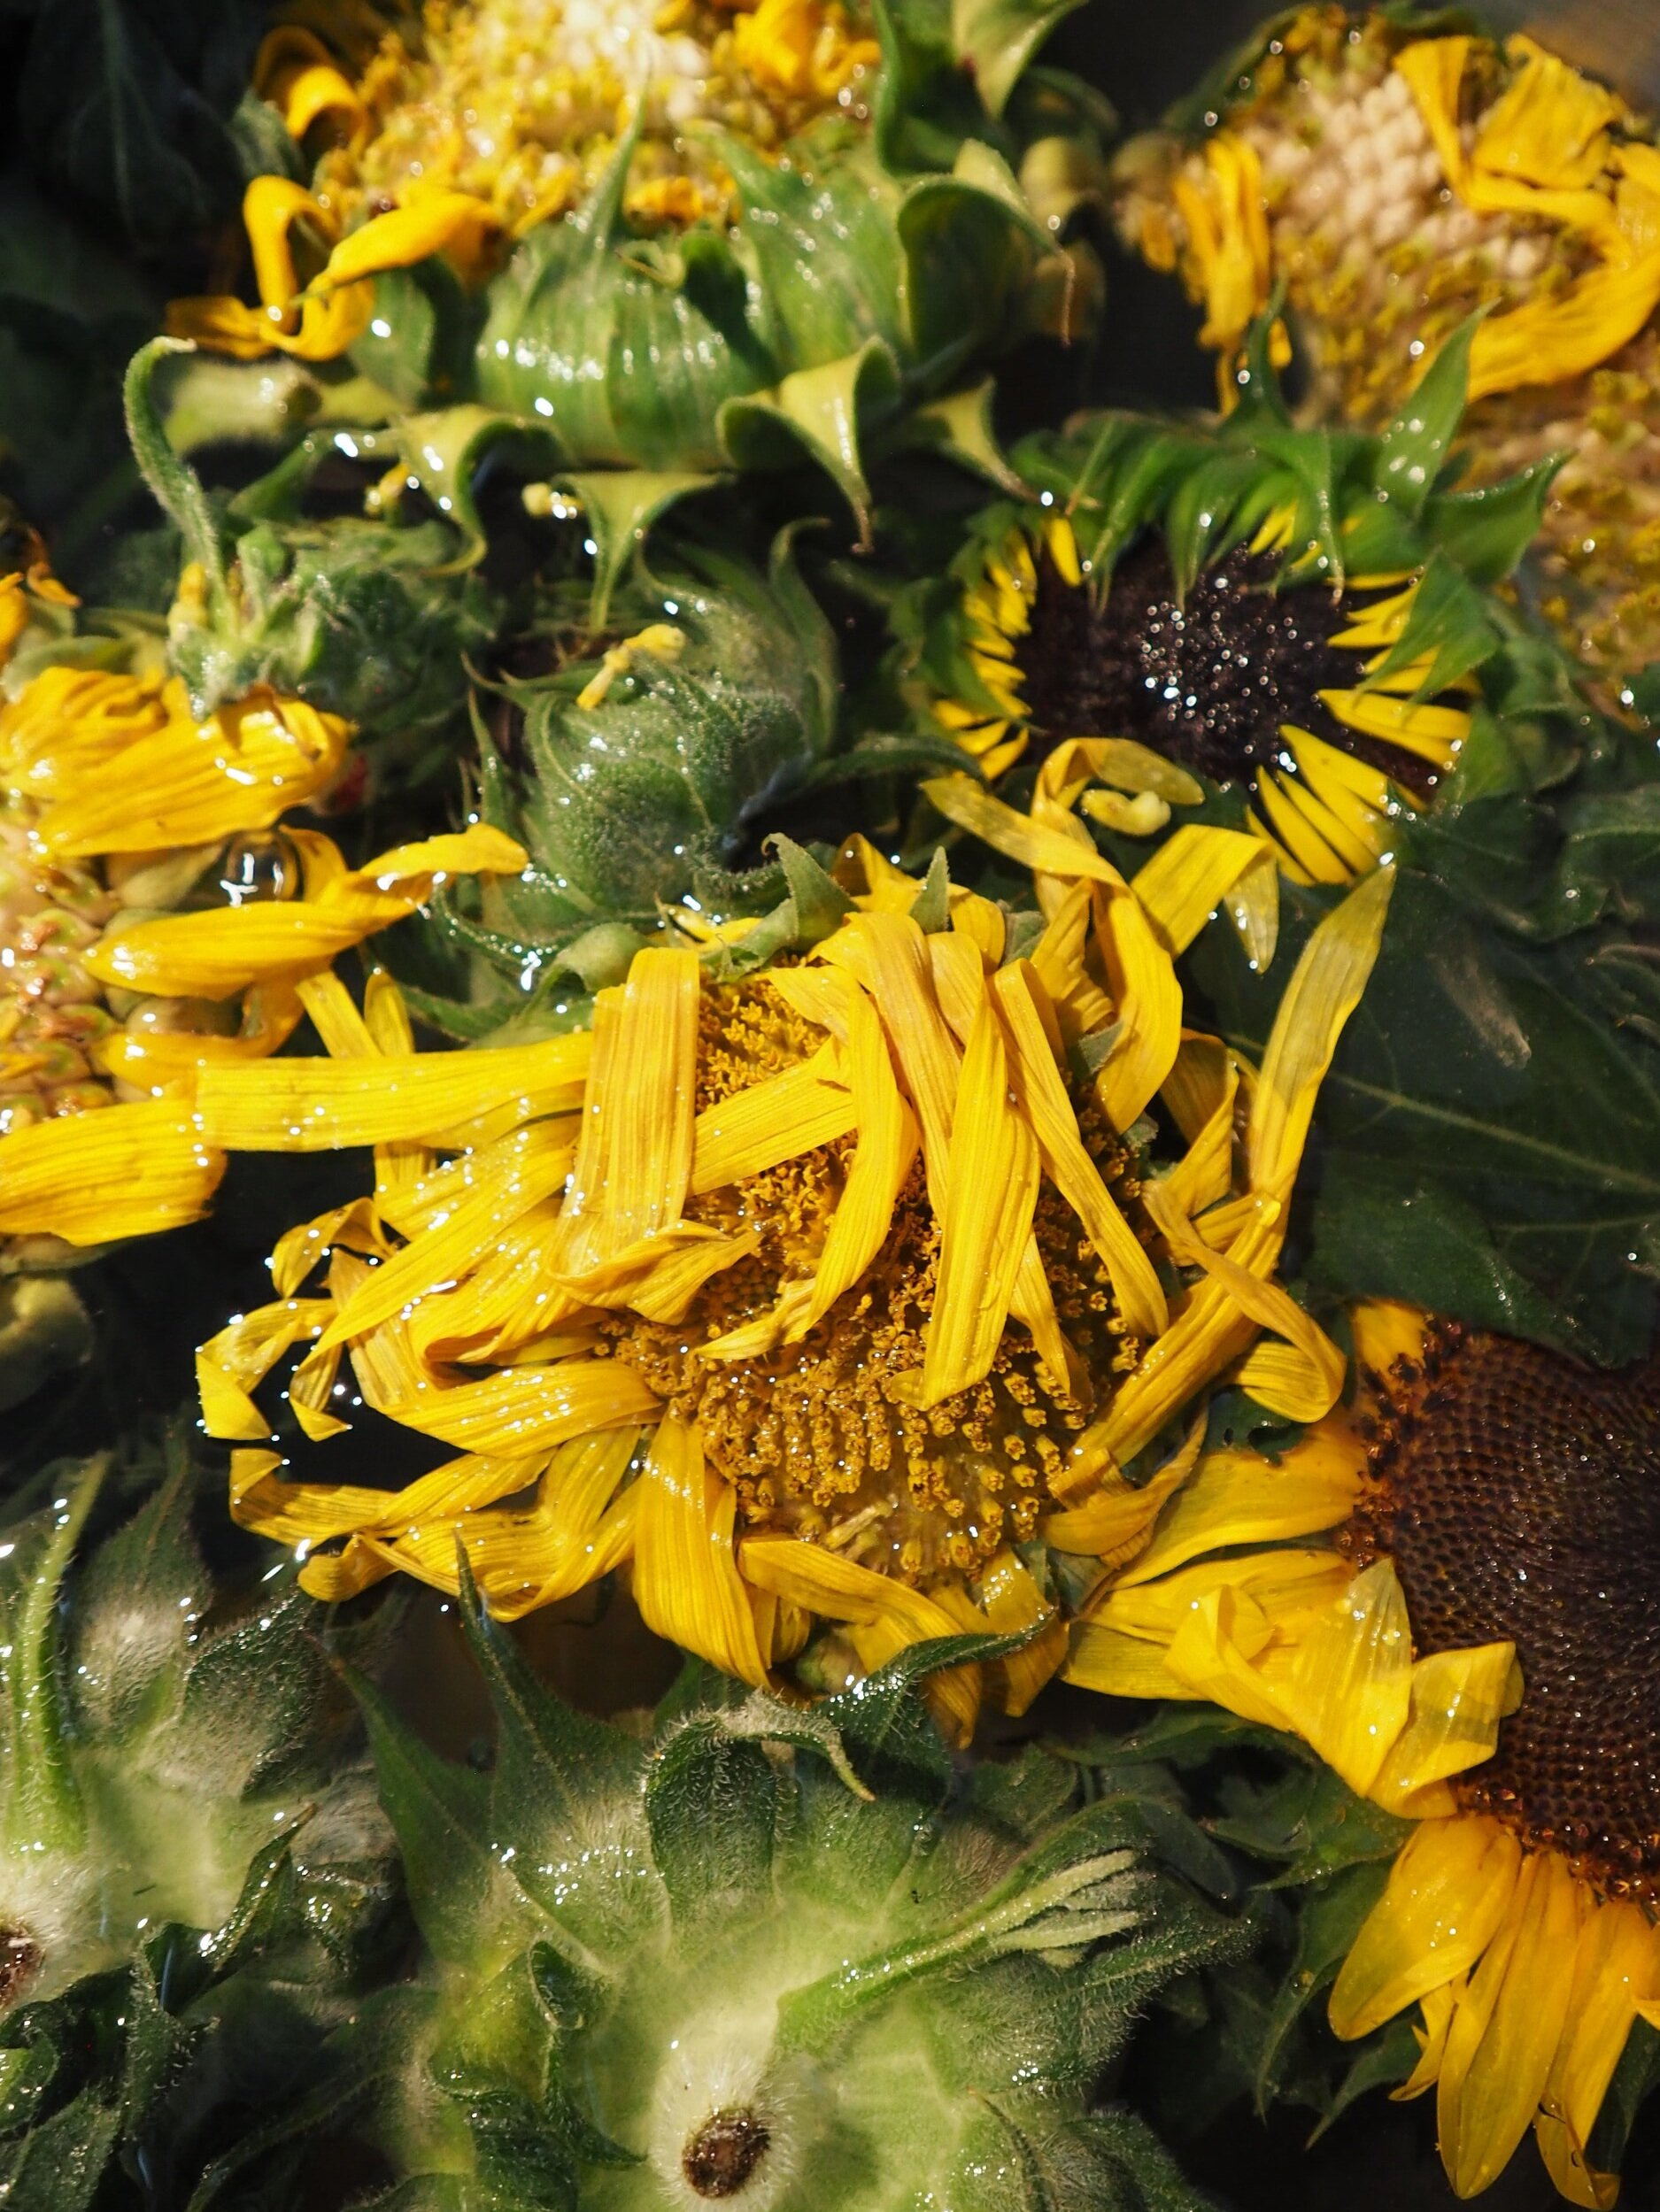
The first time I tried dyeing with them I actually mixed both kinds of sunflowers because one of the Hopi stalks had fallen over and I decided to use the heads on it with a few smaller Tarahumara heads to make a dye bath. It worked, producing a sort of light olive colored pigment.
I cooked the heads for about an hour, strained the bath and left the fabric in over night.
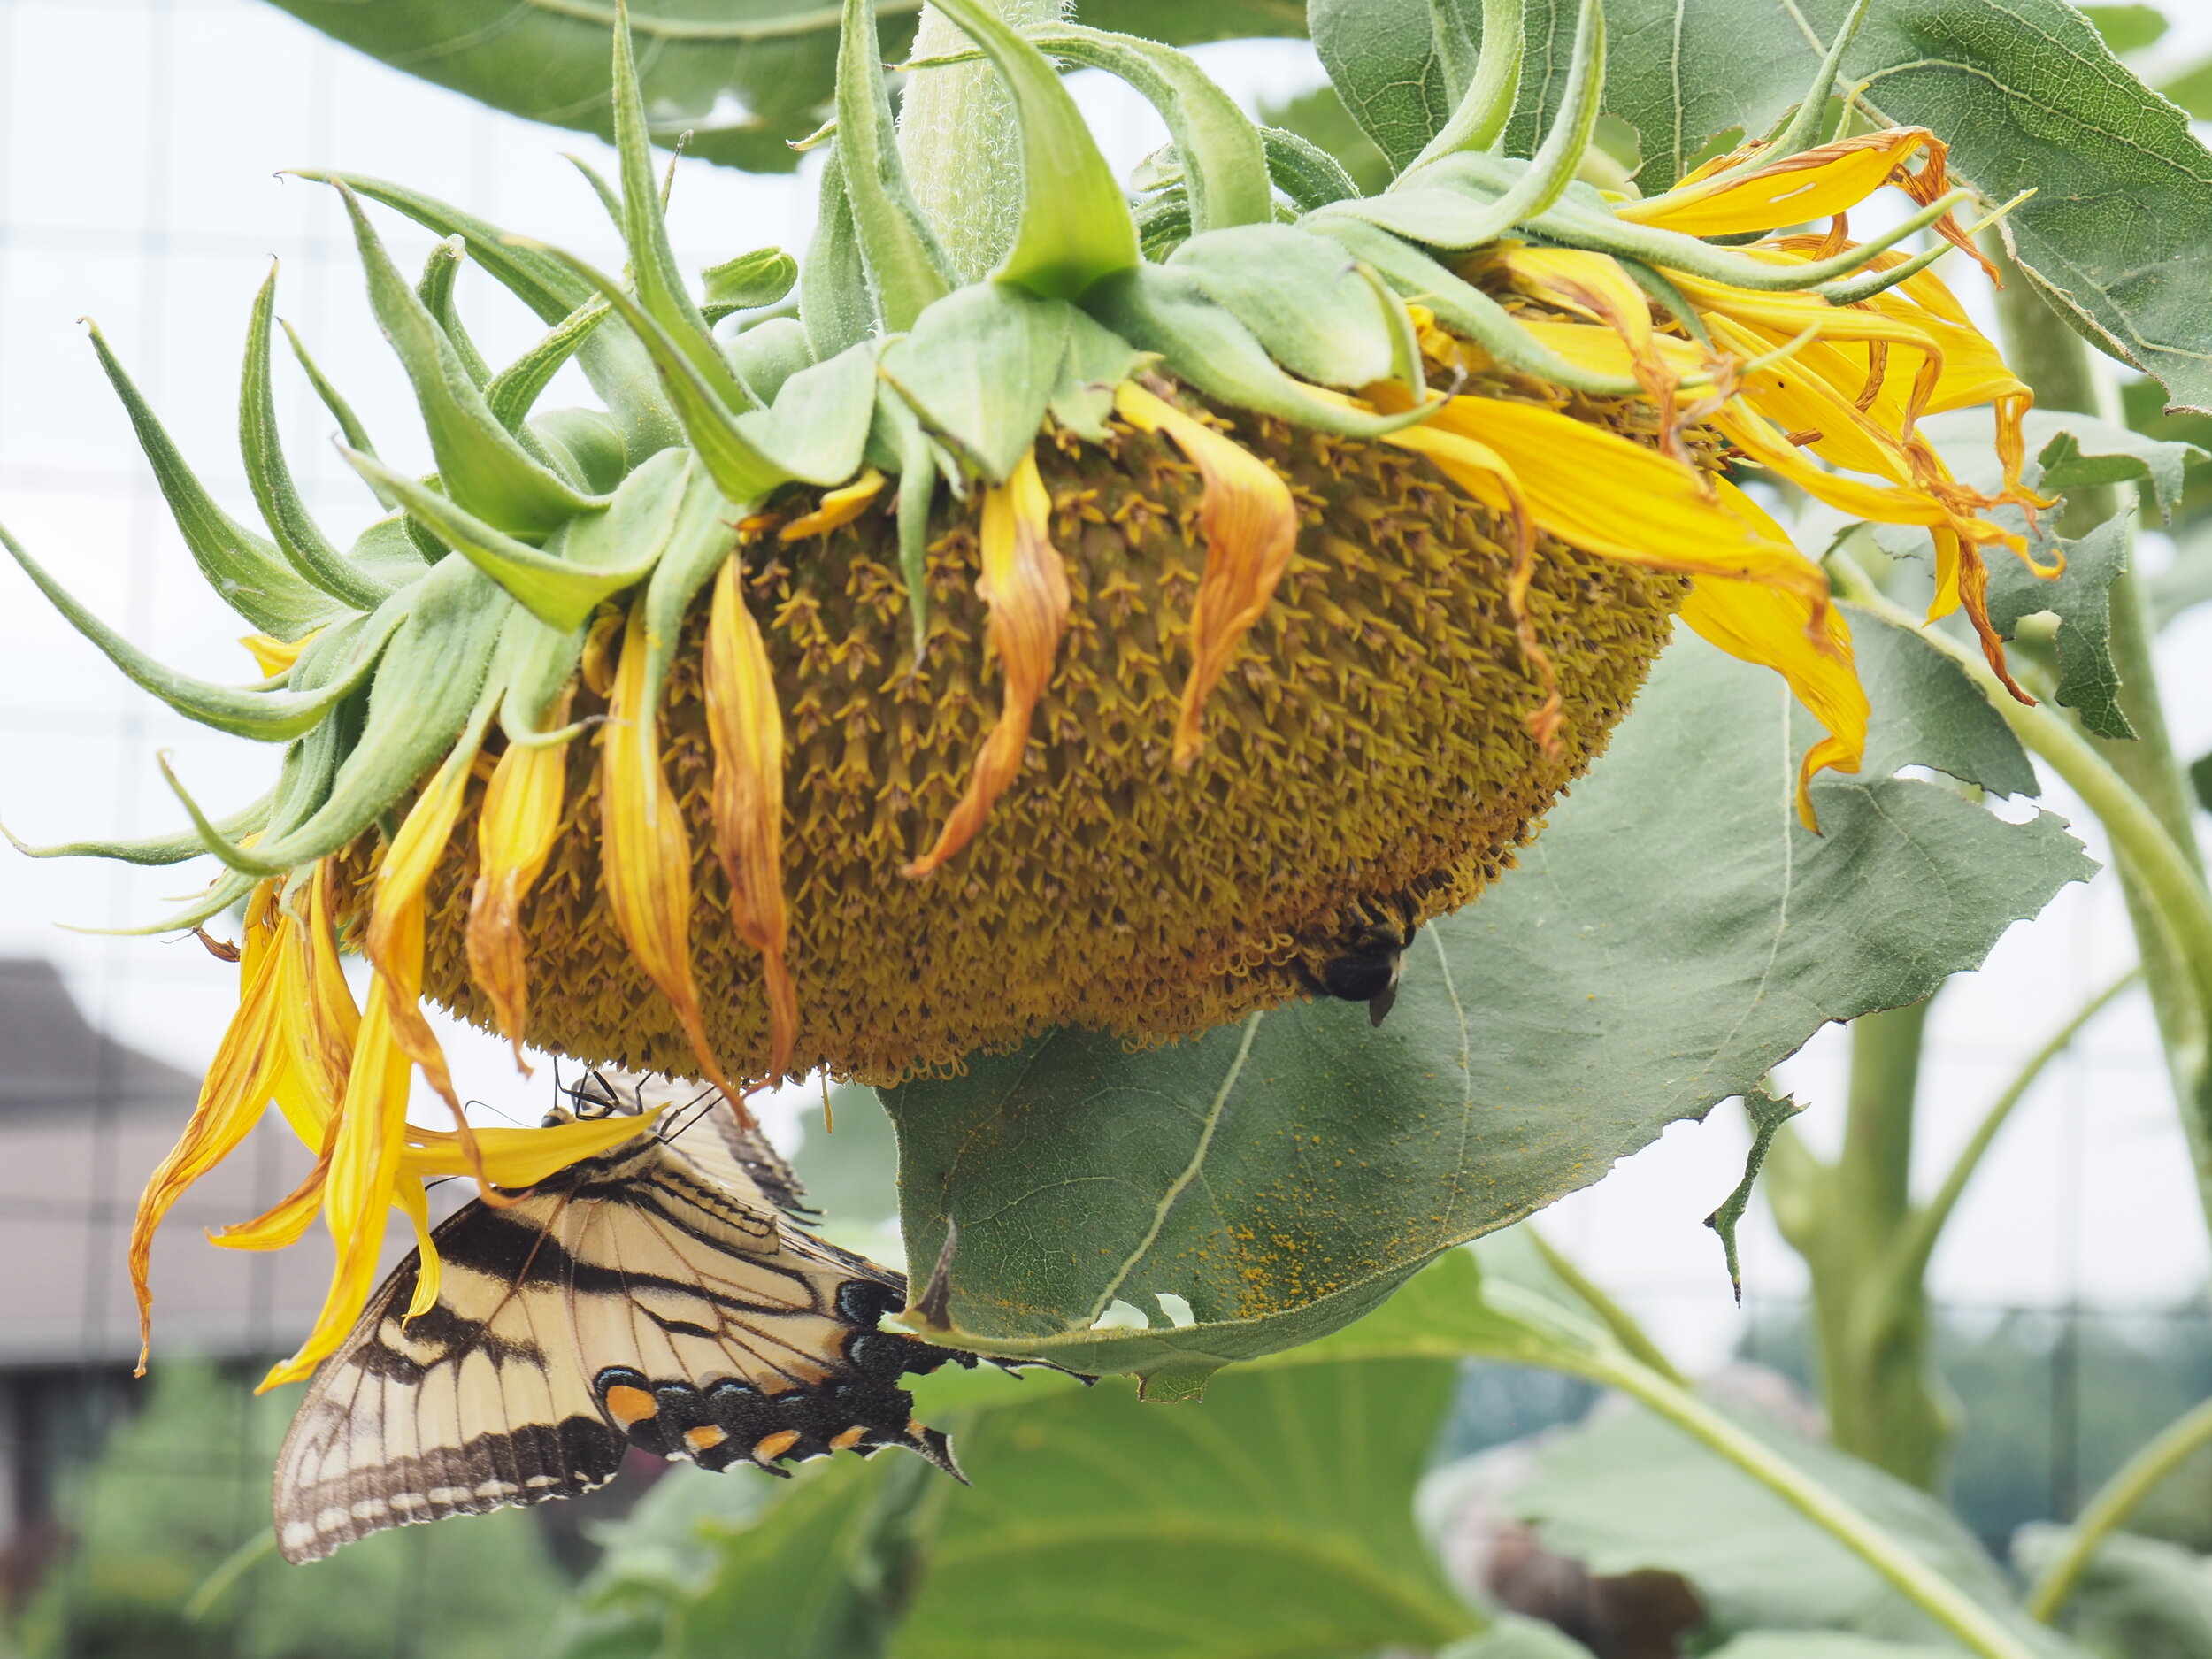
Tarahumara Sunflowers can get pretty HUGE!
I’ve made a dye bath with just Tarahumara sunflowers since this initial one, and followed A Dyer’s Garden’s advice to leave the sunflower heads in the bath overnight before straining it, reheating it, and introducing the fabric, which you then leave in the bath over night. I went through it all and actually achieved LESS color than the first time somehow. Maybe it’s the fact that I’m trying to dye cotton which tends to be less absorbent of pigment than protein-based fibers, maybe its this variety of sunflower. Who knows! It’s worth a shot if you have access to sunflowers of any variety and are looking for a soft green (olive or otherwise).
Beware! Cooking sunflowers smell a lot like artichokes and they might make you hungry ha!